


STEP 1: Sourcing the finest ingredients
Our witches got on their broomsticks and went all the way to the Brazilian rainforests to pick the finest grade T1 carnauba to add to this special brew. This, along with fine white beeswax and some top secret carrier oils make up the key elements of the wax. All ingredients are weighed out to precision (this is absolute key to the success of the wax).

STEP 2: Melting slowly
The hard waxes (carnauba and beeswax) were then slowly heated together. Stirring constantly and pressing the beeswax down to release air pockets. Dark colouring pellets were then added to the mix too. After all, it wouldn't be a Halloween wax without going to the dark side!

STEP 3: Temperature checking and adding the carrier oils
Gradually the waxes began to melt with the colouring pellets. At this stage the temperature is very important and overheating the wax can ruin it. Lots of care is to be taken here. Meanwhile in a separate cauldron the specially selected secret carrier oils are slowly heating up now as well. These needed to be a very similar temperature to the waxes before mixing together to achieve good adhesion.

Oooooh it smells....GOOD!
At this stage the scent will be amazing. Once added together the oil-like liquid was looking super glossy.

STEP 4: The pour!
The liquid is left to cool down naturally until it is the ideal temperature for pouring. Just look at that rich dark texture.

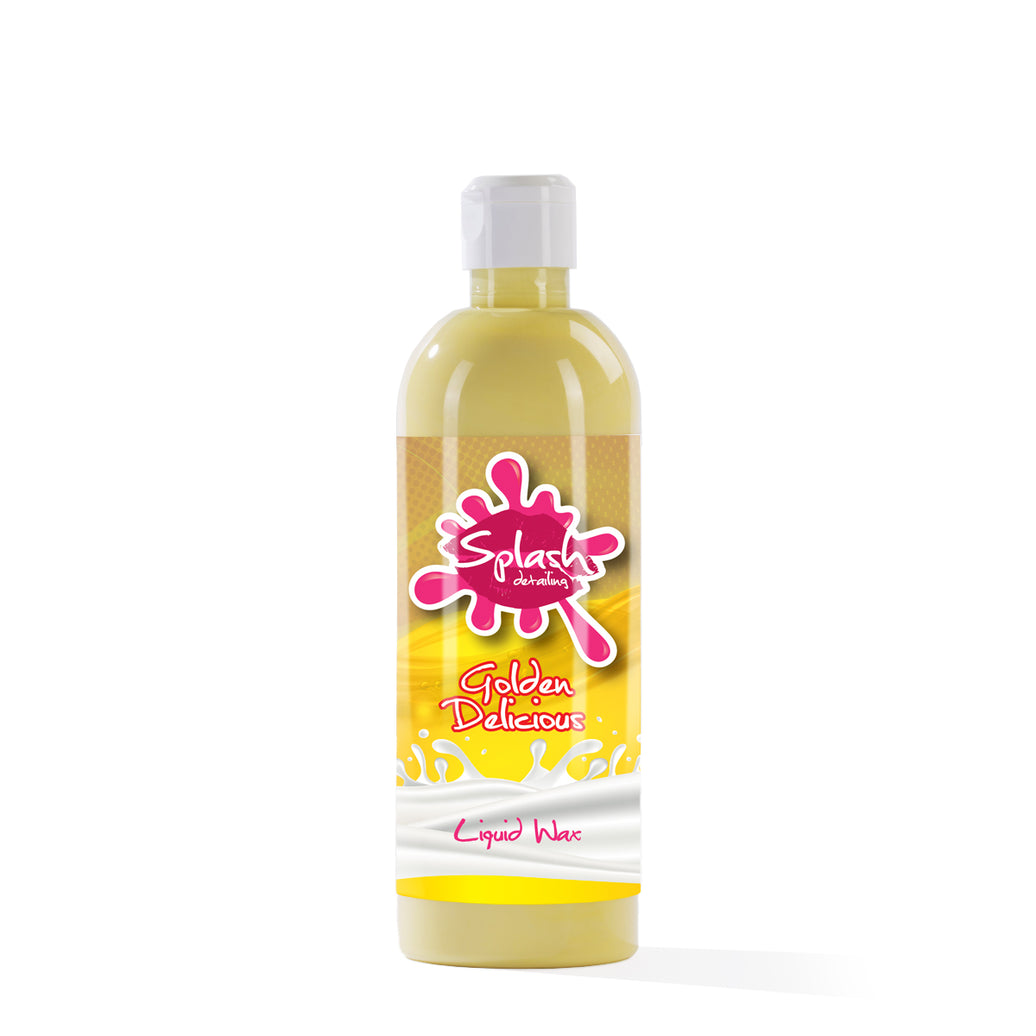
Voila!: The final product
3 months of car protection in this little (not so scary) Halloween wax pot which is absolutely FREE with any orders over £30. Grab yours while our stocks last.