


When it comes to keeping your car looking its best, nothing beats a professional-level detail right on your driveway. With the right products, techniques, and a bit of patience, you can achieve showroom results at home. Follow along as we take you through the full detailing process, step by step.
Step 1: Inspection
Before starting the detailing process, it's essential to inspect your vehicle. Walk around the car and take note of any areas that need special attention, such as heavy dirt buildup, scratches, or stubborn contaminants. This step helps you tailor your approach and ensures the best possible results.


Step 2: Snow Foam & Pre-Wash
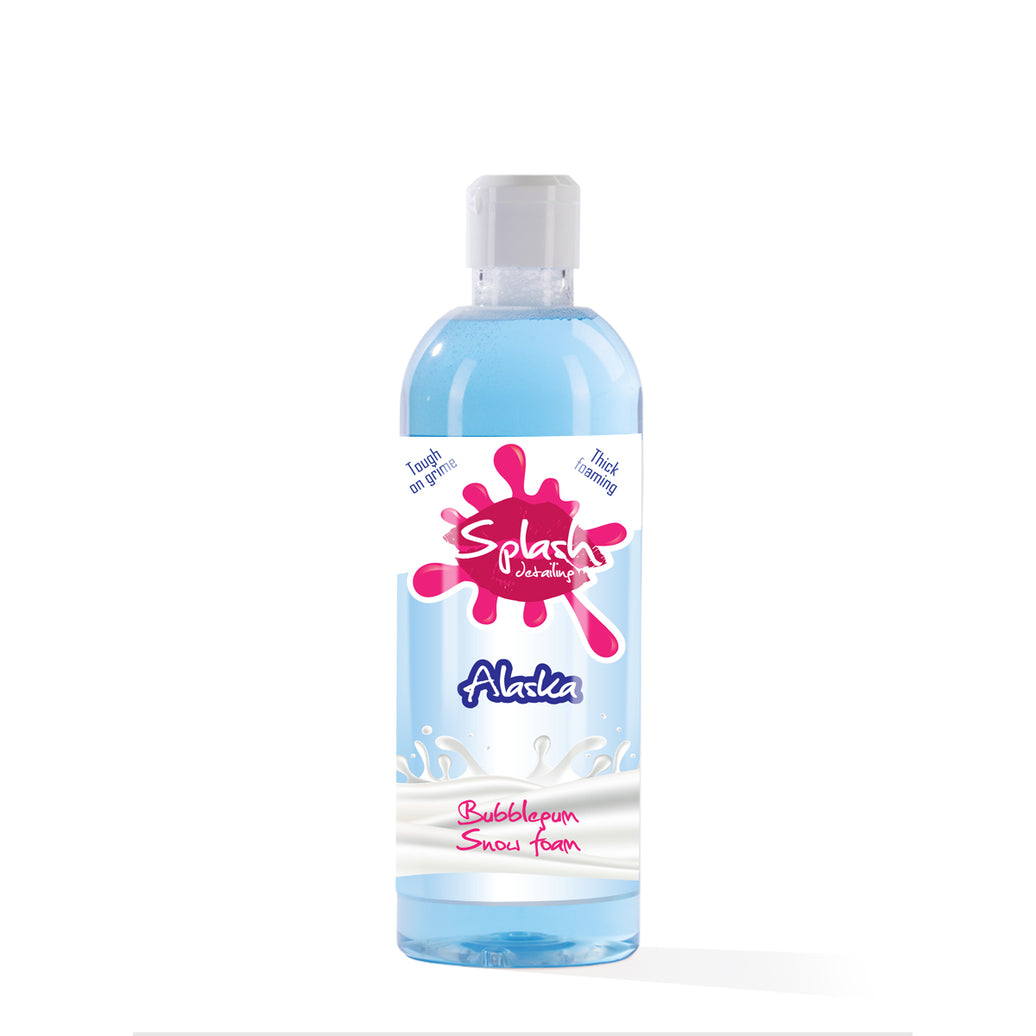
The pre-wash stage is crucial for loosening dirt and grime before making direct contact with the paint. Using a snow foam lance, and our Alaska Bubblegum Snow Foam, apply a thick layer of foam over the entire car and let it dwell for a few minutes. This will help lift dirt and reduce the risk of scratches when you proceed to the contact wash.
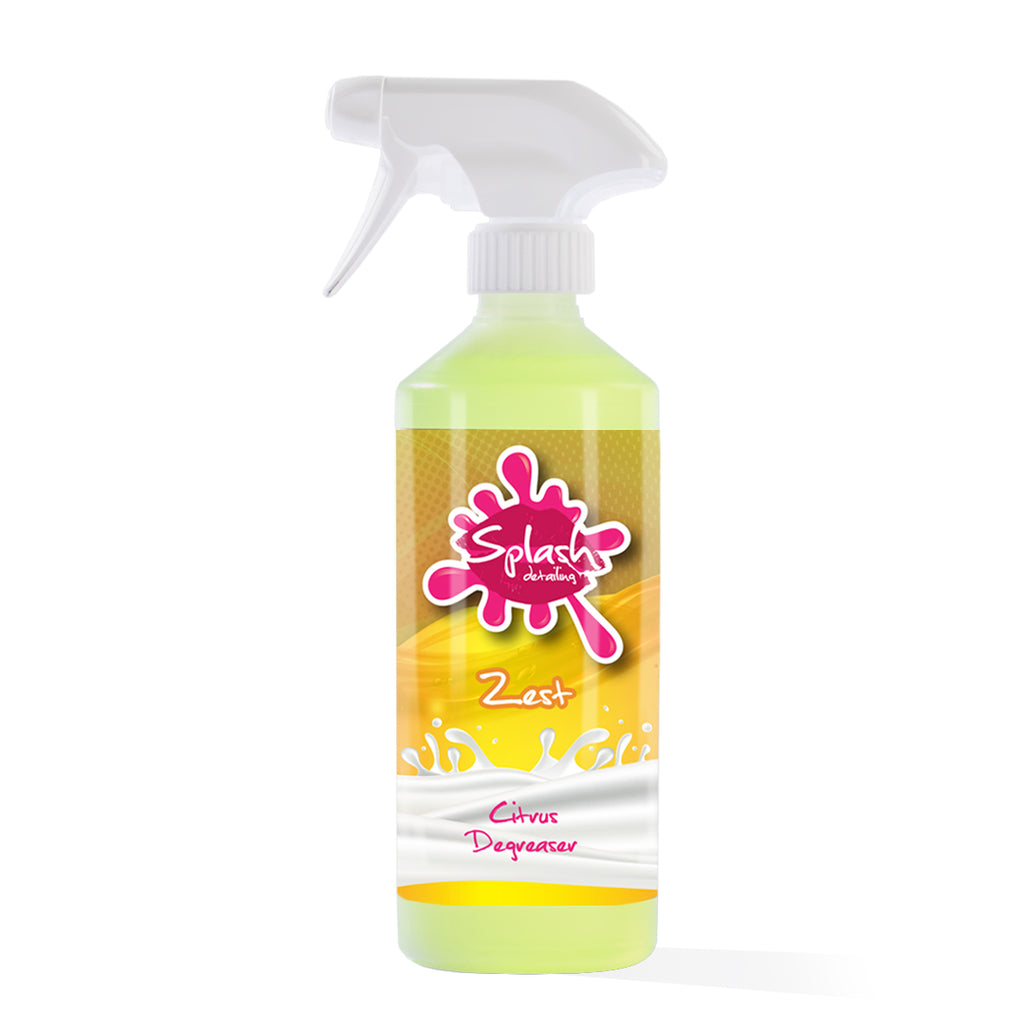
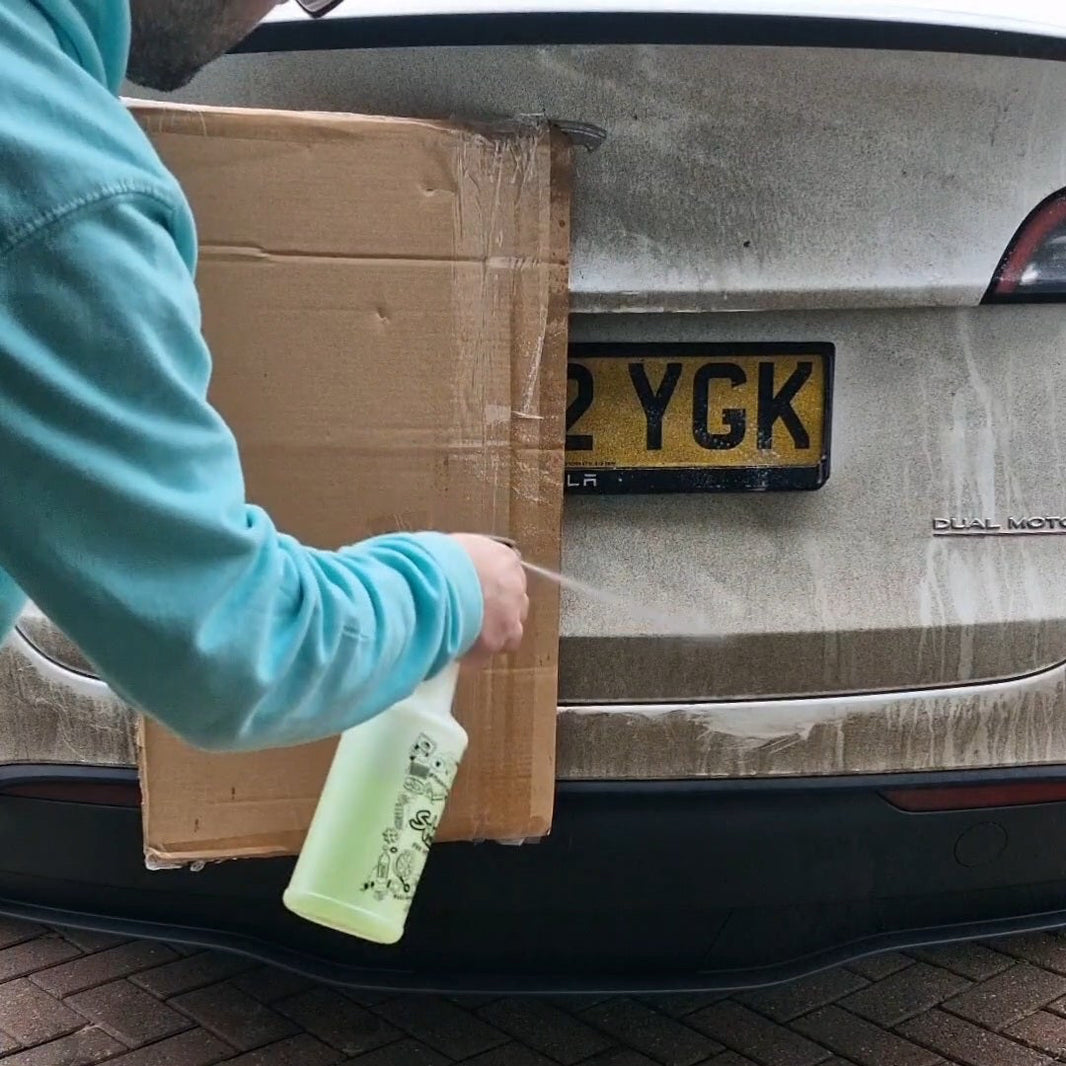
After rinsing off the snow foam, it's important to use our Zest Citrus Degreaser. This powerful yet gentle formula effectively breaks down stubborn grease, road grime, and bug splatters that the snow foam may have loosened but not fully removed. Applying the degreaser ensures a deeper clean, particularly in areas prone to heavy contamination, such as lower panels and around wheel arches. Simply spray, let it dwell for a minute, and then rinse thoroughly before moving on to the next step.


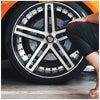
Step 3: Cleaning the Wheels
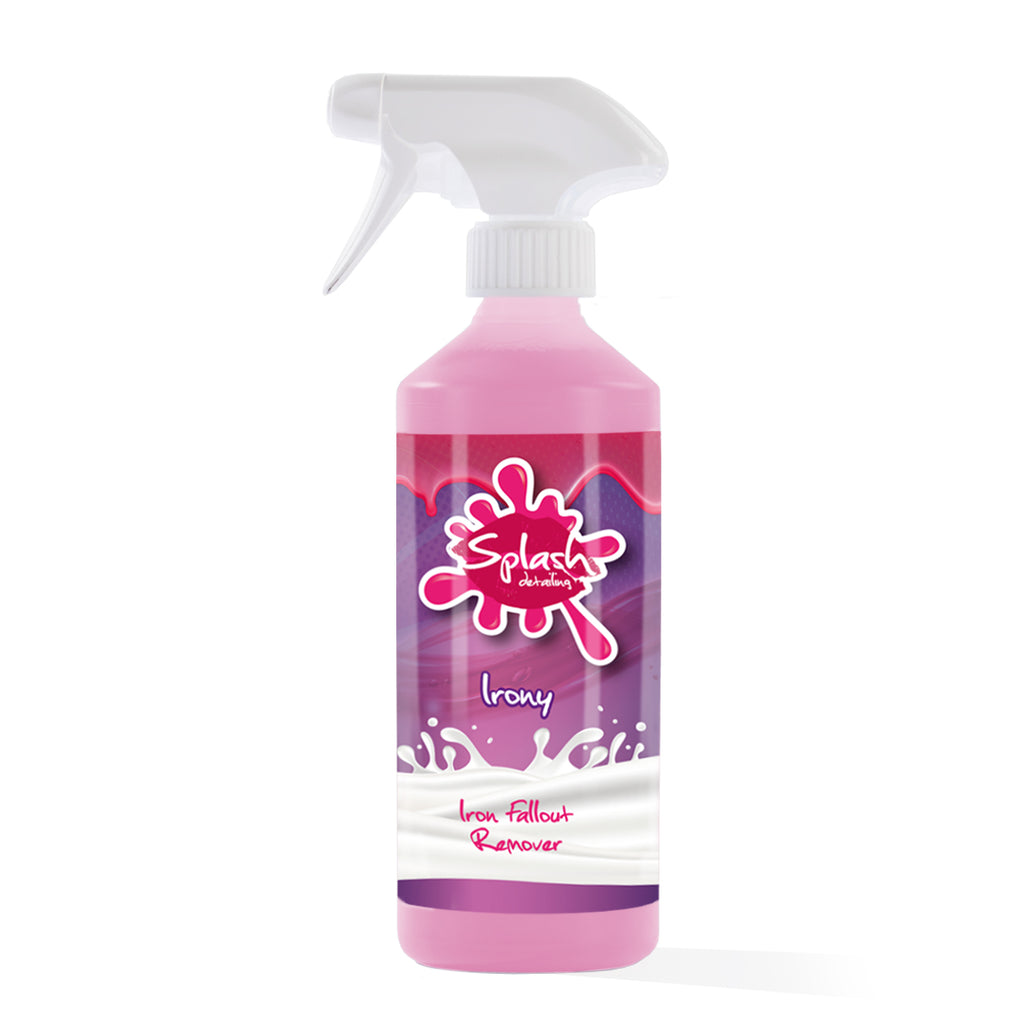
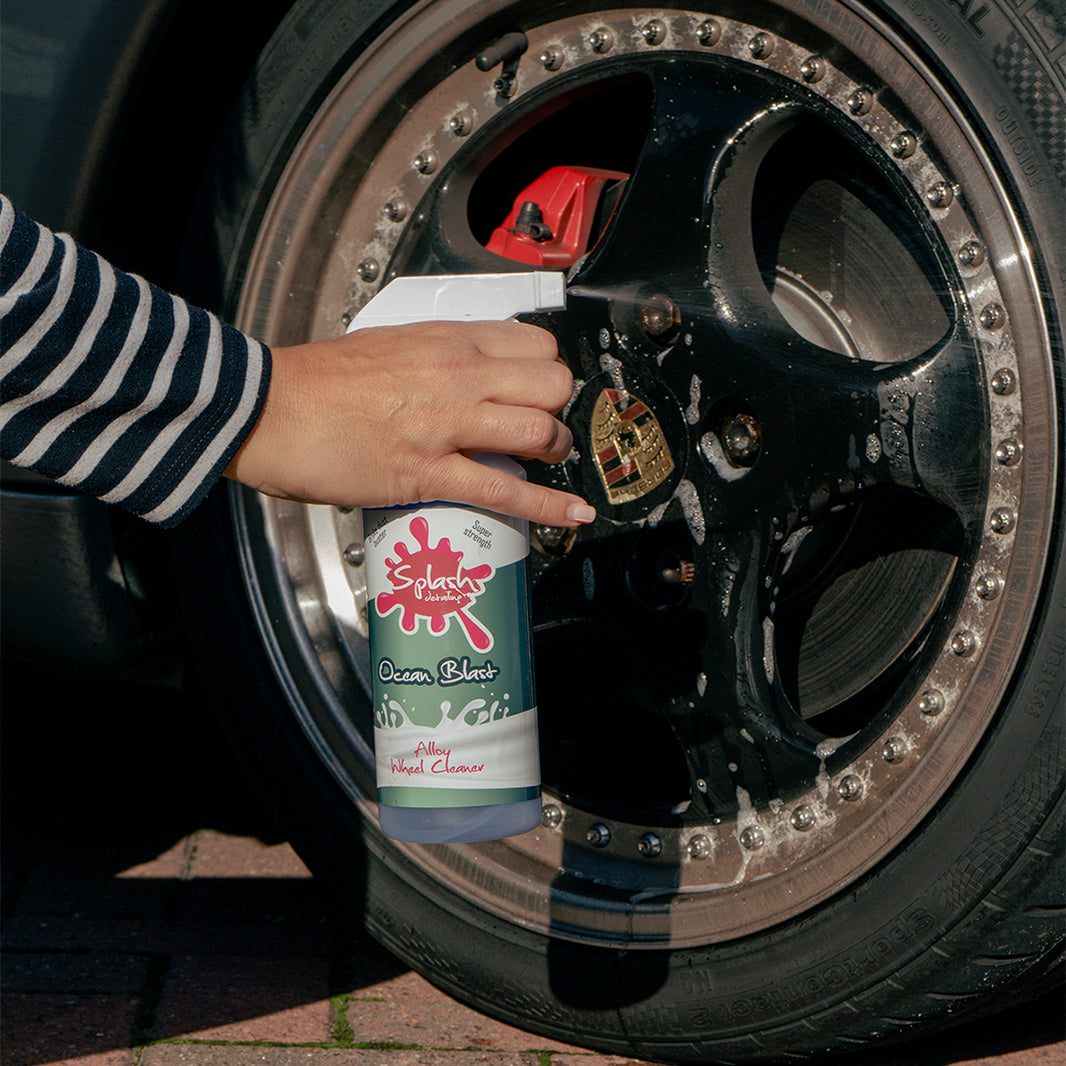
Wheels often accumulate the most dirt, brake dust, and grime, so it’s best to tackle them early. Use our Ocean Blast Alloy Wheel Cleaner along with wheel brushes to get into all the hard-to-reach areas. Rinse thoroughly and repeat if necessary for a spotless finish. For special occasions (extra dirty) use our Irony Iron Fallout Remover on the wheels to help with even more stubborn embedded brake dust.


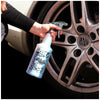
Step 4: Decontamination – Fallout Remover & Clay Bar
Before washing, there's still some contaminants that remain bonded to the paint that we need to remove. Spray our Irony Iron Fallout Remover over the car to break down embedded iron particles. You'll notice it working, as it begins to change to a deep purple colour when the formula reacts with the iron. After rinsing, use Our Classiest Clay Clay Bar with Clube Lubricant to remove stubborn contaminants, leaving the paint ultra-smooth.


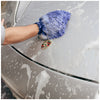
Step 5: Wash, Rinse & Dry
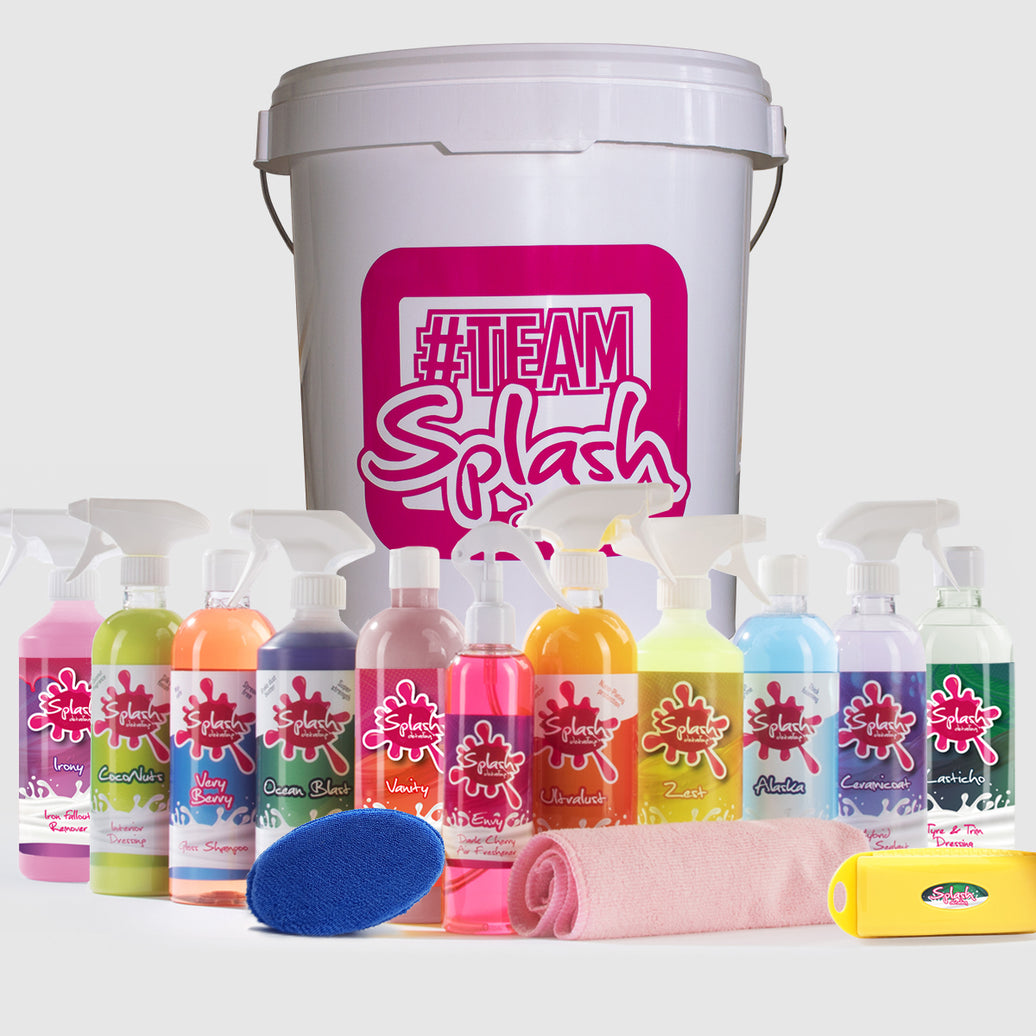
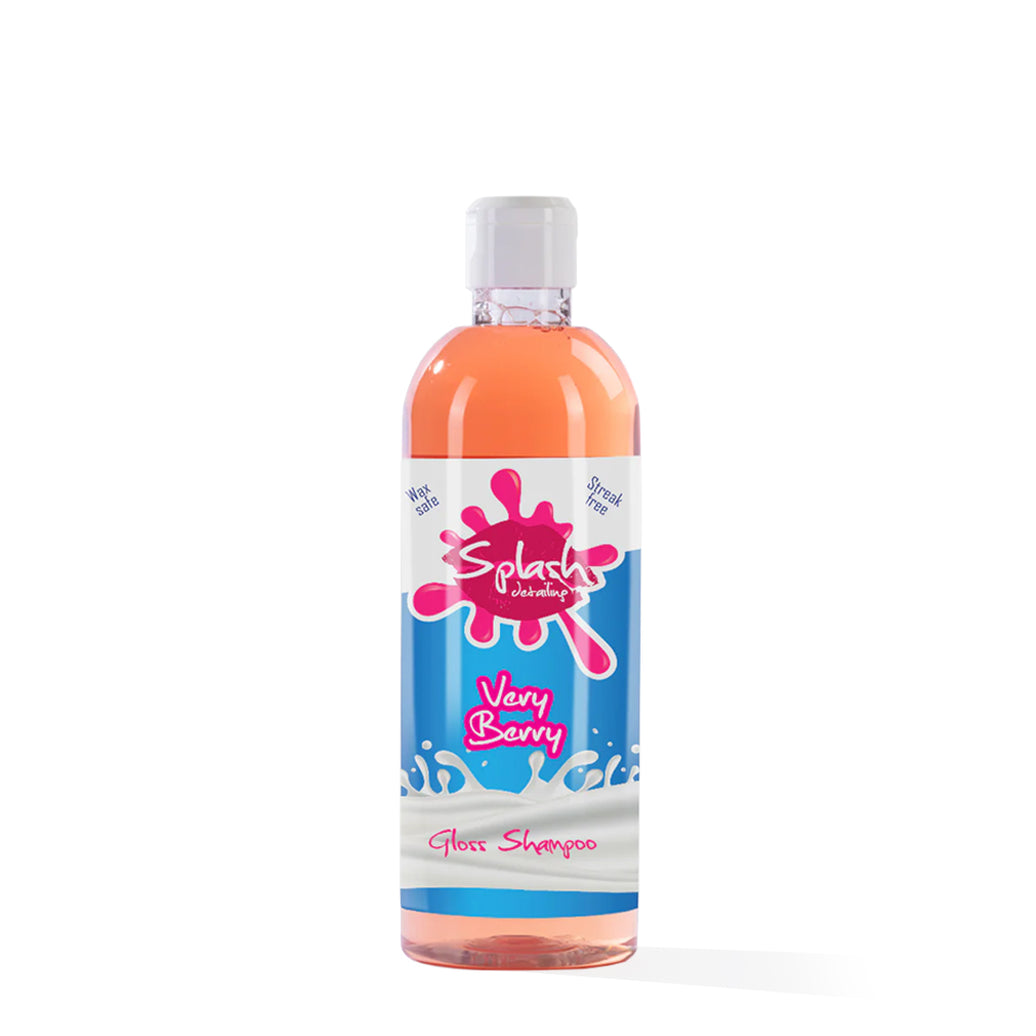
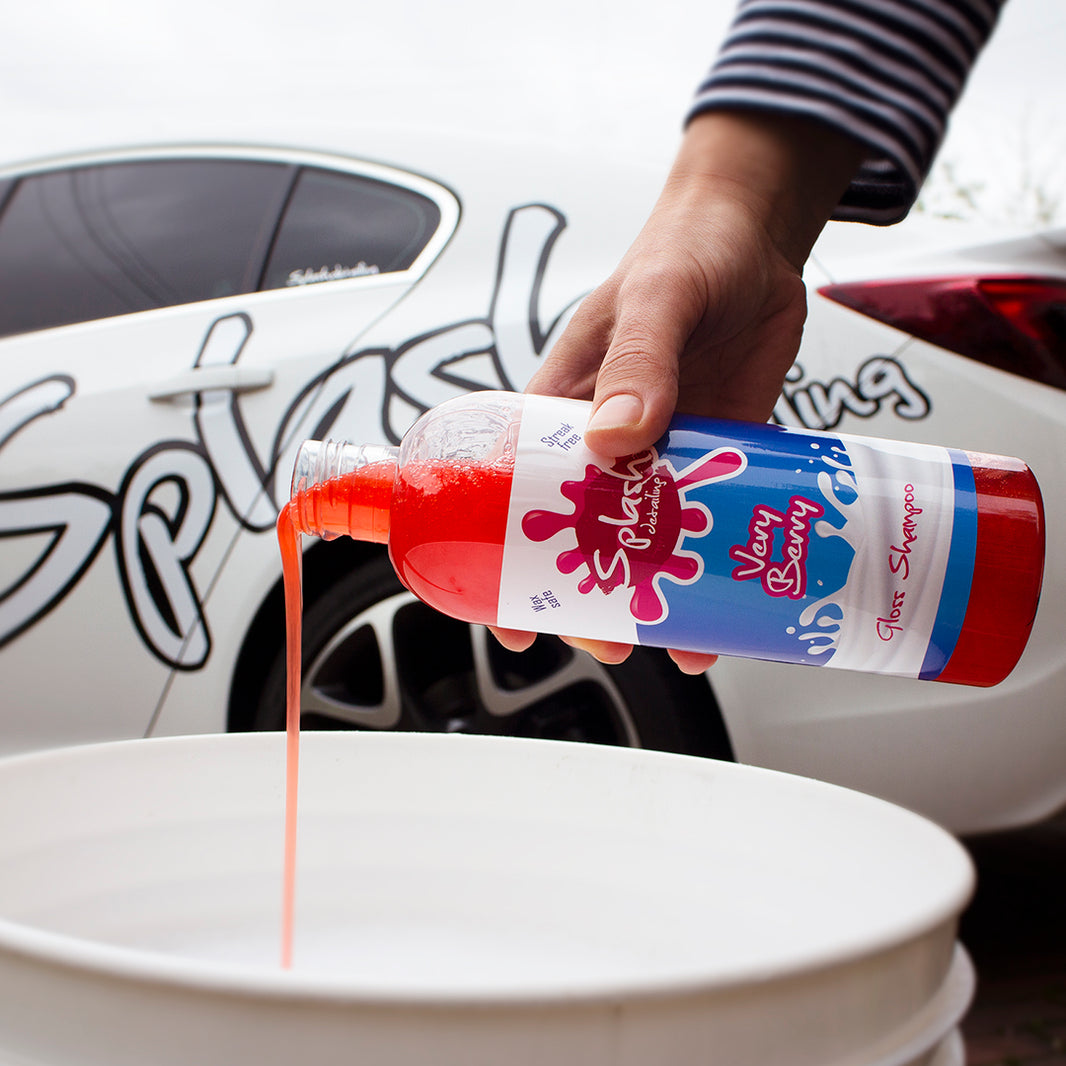
Now that the car is decontaminated, it’s time for a thorough contact wash. Fill 2 of your #TEAMSPLASH buckets with clean water. To one, add a generous amount of our Very Berry Gloss Shampoo and the other we'll use as our rinsing bucket. Using our Wotsmitt wash mitt, work in sections, starting from the top and moving downward to prevent dragging dirt onto cleaner areas. This pH-balanced shampoo provides excellent lubrication, ensuring a swirl-free wash while leaving behind a deep, glossy finish.


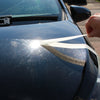
Step 6: Polish for a Flawless Finish
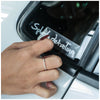
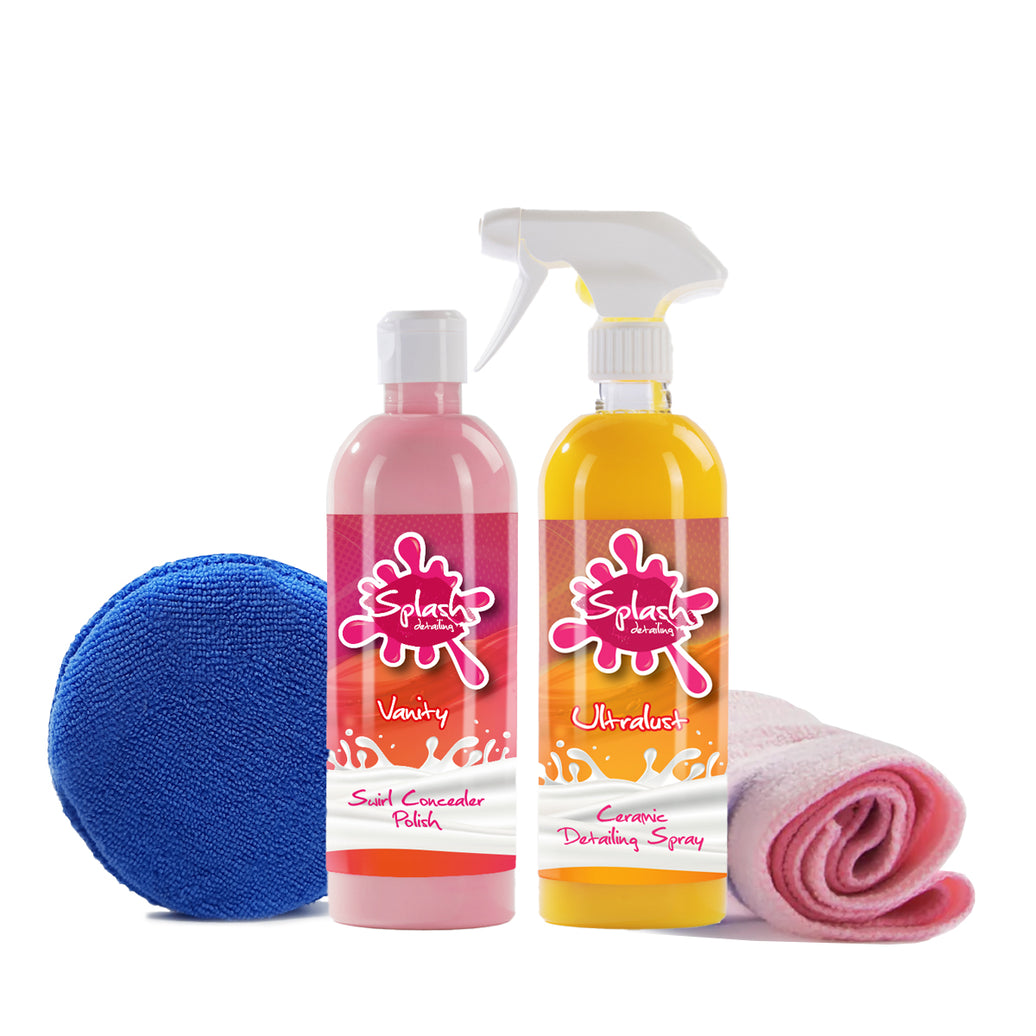
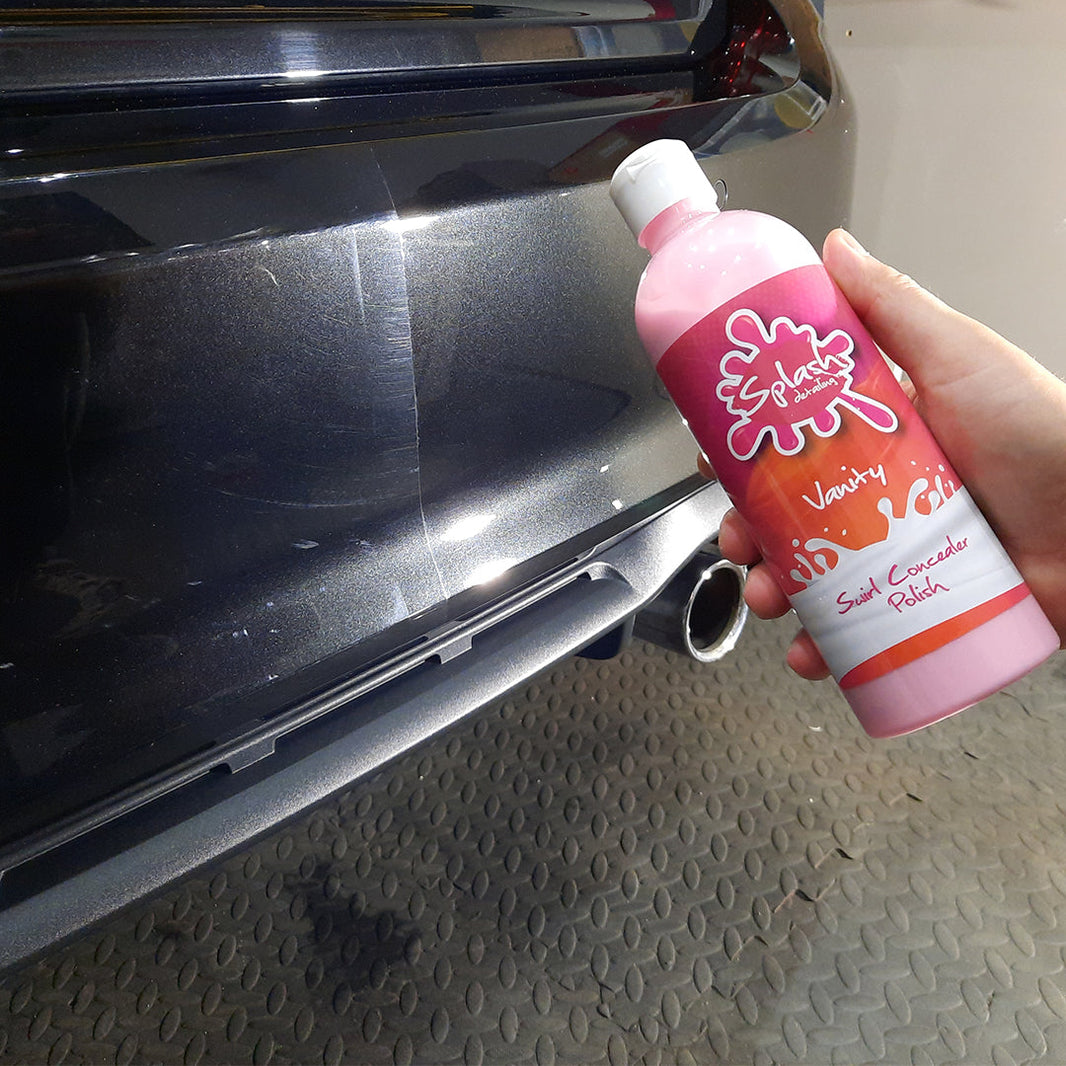
Polishing enhances the shine and removes minor imperfections from the paint. To demonstrate its effectiveness, we've taped off a small section of the car’s paintwork to compare the before and after results. Apply a small amount of our Vanity Swirl Concealer Polish onto a foam or microfiber applicator pad.

Working by hand, spread the polish over the taped-off section in slow, overlapping motions. The polish is designed to reduce the visibility of swirl marks and fine scratches, restoring depth and clarity to the paint. Work the product into the paint until it begins to haze, then buff off with one of our Plush Microfibre Towels. Remove the tape and compare the treated and untreated areas—you’ll immediately see the difference in gloss and clarity!
Repeat the process panel by panel, ensuring even application and removing excess polish with the microfibre towel. This step is crucial for achieving a flawless, professional finish before applying paint protection.


Step 7: Protecting Your Paint
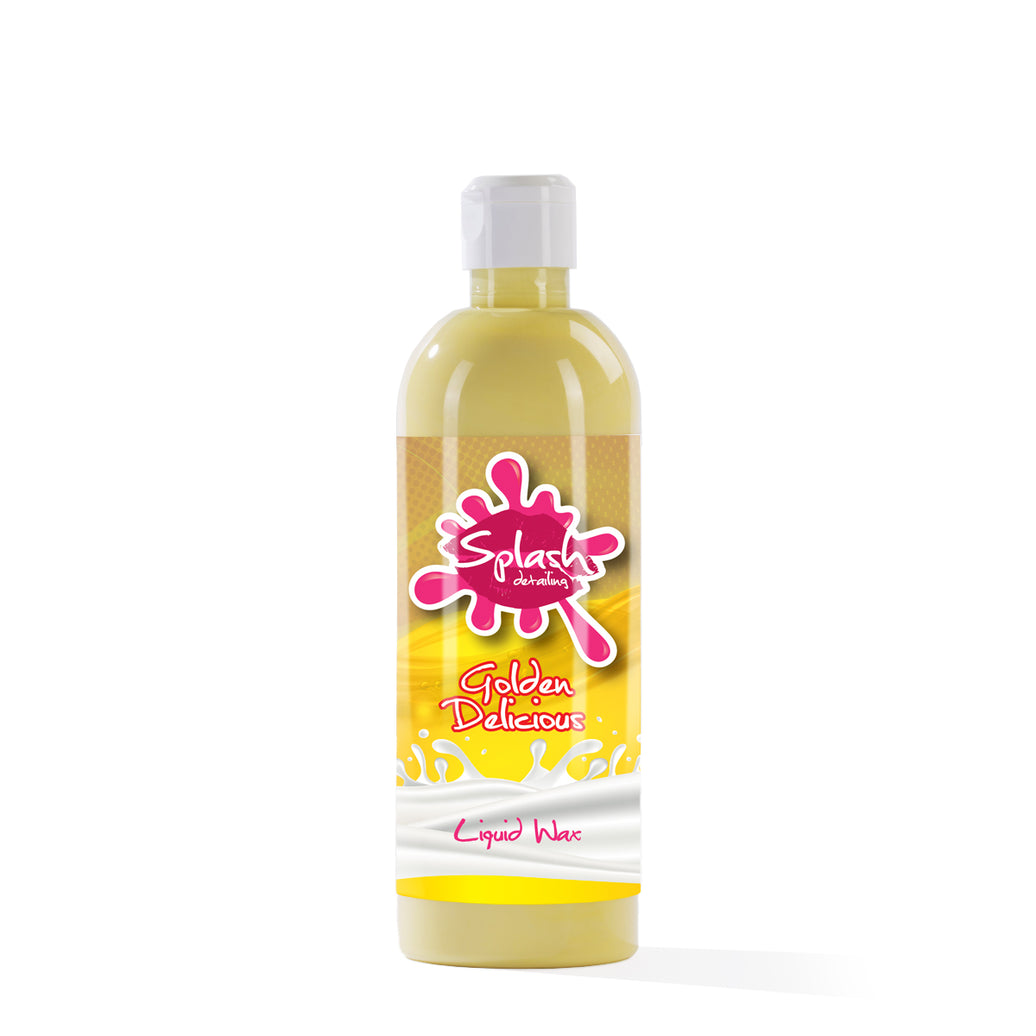
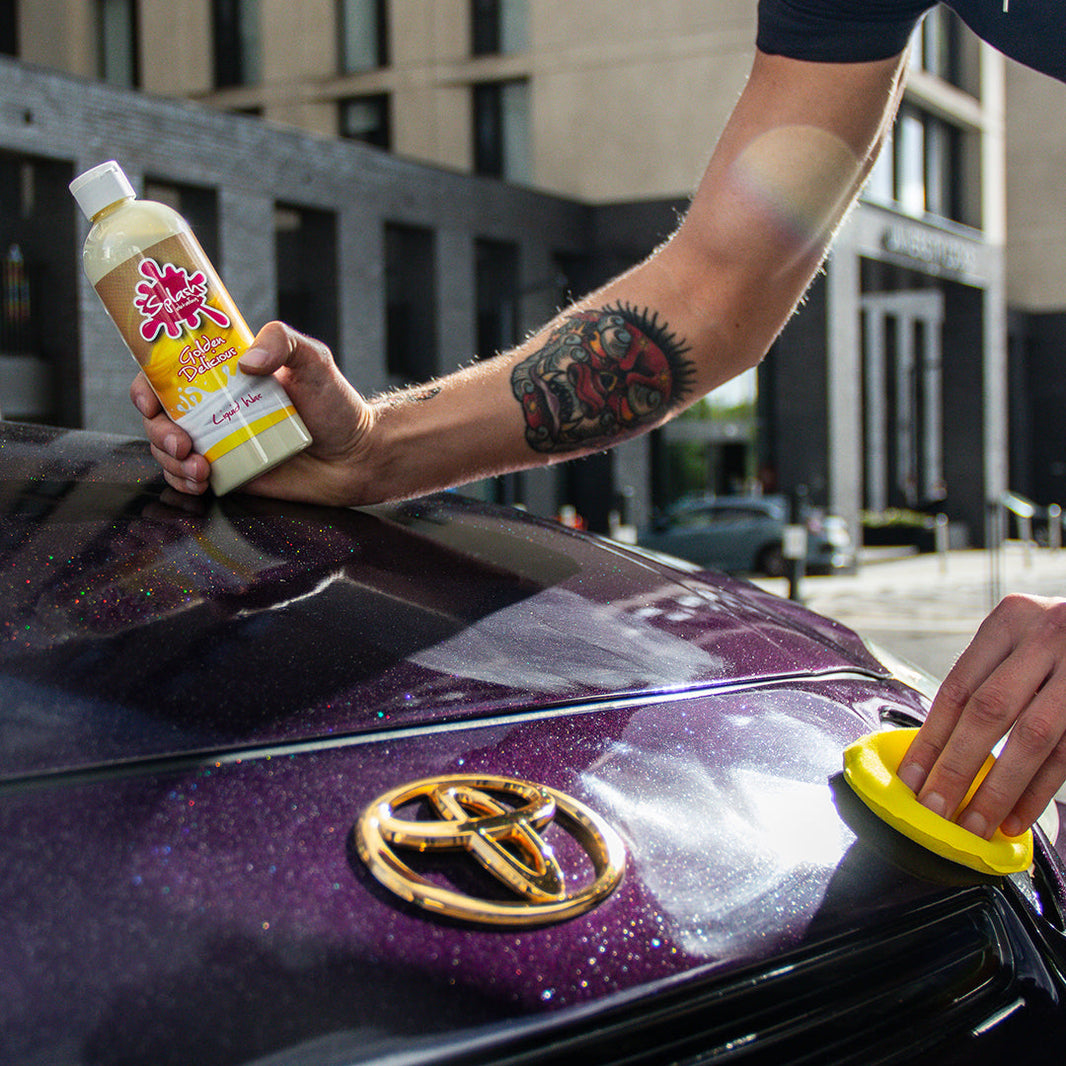
Once the paint is polished to perfection, it’s essential to protect it with a high-quality wax. Our Golden Delicious Liquid Wax provides a deep, glossy finish while adding a durable layer of protection against contaminants, UV rays, and harsh weather conditions.

To apply, shake the bottle well and pour a small amount of wax onto an applicator pad. Working in small sections, apply the wax in thin, even layers using circular motions. Allow the wax to cure for a few minutes until it forms a hazy layer.
Once cured, buff off the residue with a clean, plush microfiber towel. You'll immediately notice the enhanced depth and clarity in your car’s paintwork. The hydrophobic properties of Golden Delicious Liquid Wax create a slick, water-repellent surface, making maintenance washes easier and ensuring long-lasting shine.
For maximum durability, apply a second layer after the first has fully bonded to the paint. Regular application will keep your vehicle protected and looking freshly detailed for months.


Step 8: Finishing Touches – Tyres & Trims
To complete the detail, apply our Lasticho Tyre & Trim Dressing to give your wheels a deep, rich finish. Don’t forget to treat exterior trims with a dedicated plastic restorer to bring back their original colour and protect them from fading.
Final Thoughts
Detailing your car at home is not only rewarding but also ensures your vehicle stays in top condition. By following this step-by-step guide, you can achieve professional-level results on your driveway. Stay consistent with your detailing routine, and your car will always turn heads!
Need high-quality detailing products? Check out Splash Detailing’s range for everything you need to achieve the perfect finish!


