


Often overlooked, but an engine bay detail can be one of the most satisfying and easiest jobs to do.
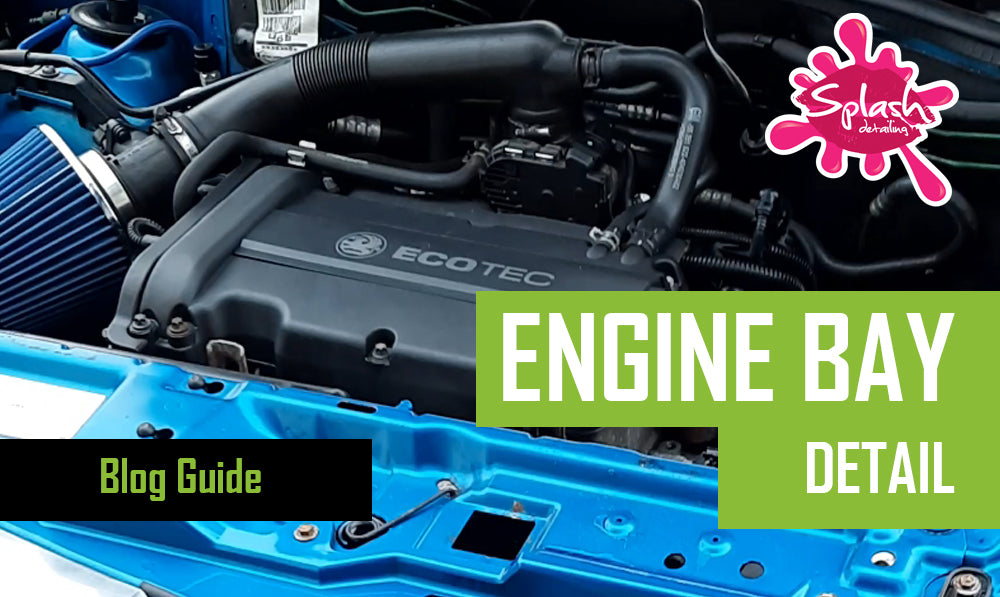
First things first. Let’s take a look at what’s under the bonnet of this little Tigra. Being a 2004 car, an engine still looks like an engine, with very few plastic covers found. The Z14XEP found in our Tigra has 90bhp from the factory. Here we'll be taking you through the process of safely detailing your engine bay.

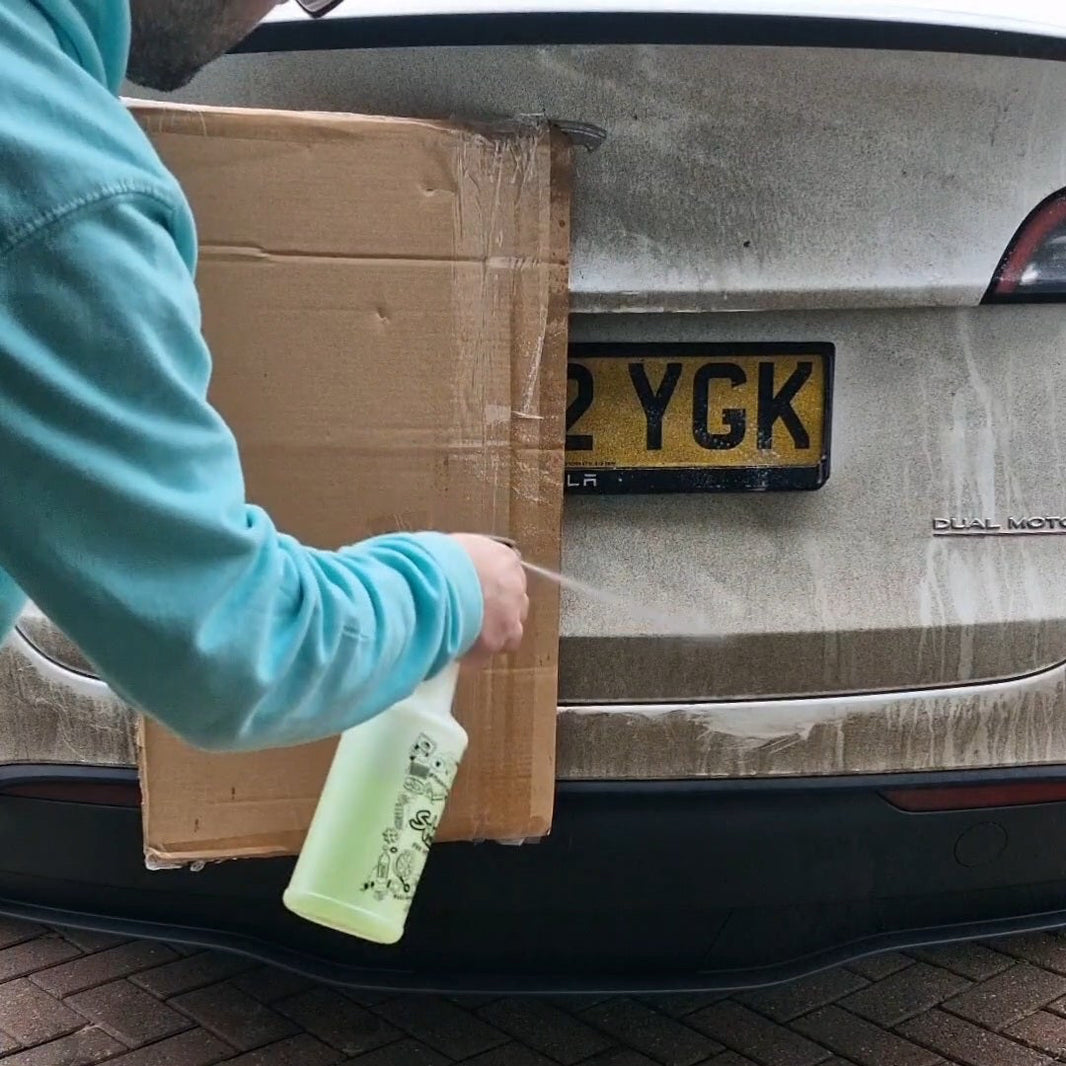
Giving your engine bay a detail isn’t as scary as it sounds. For some, adding any water in this area is too daunting. Hearing horror stories of their engine not starting again. However, if you take your time and do things properly you don’t have to fear any of that. Firstly, we covered up all vulnerable areas before we start with the detail. This included our new cone filter and MAF sensor, the car battery and alternator. Look out for any fuse boxes in your engine bay. Ours was out of the way so we didn’t have to worry about it.


Next we took our detail brushes and started to agitate the areas we could reach. Let’s not forget, some of this dirt has been here for over a decade! The brush helps to lift any stubborn grime whilst spreading any product to any areas missed.

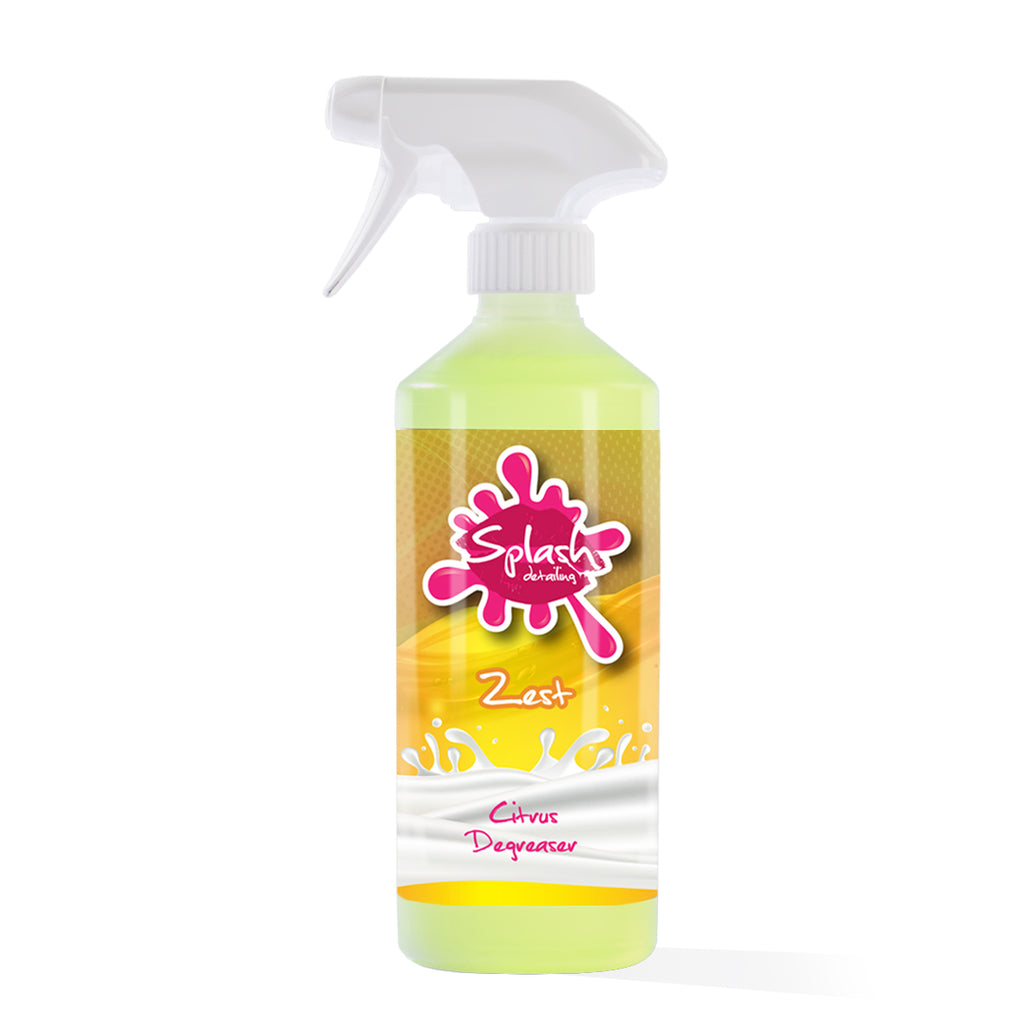
Once you’re confident you’ve covered all areas, it’s time to get your hose out (or use a pressure washer on low pressure). Rinse away the mess that’s been lifted by our Zest Citrus Degreaser, carefully avoiding any areas that we covered earlier. You’ll already start to notice that it’s looking much nicer here. But we’re not finished yet. Remove any coverings and start your engine to help speed up drying time. Use a microfibre towel to remove any excess. Once completely dry and the engine is cold again (don’t work on a hot engine!) let’s move to the next step.

We bring out CocoNuts Interior Dressing. Yes, it’s designed for interior use, but it’s extremely versatile too, so dressing your engine bay plastics is ideal. The engine rocker cover on our car is plastic, so we spray some CocoNuts on this, on our induction pipe and relay cover. Wipe with a Candy Cloth Microfibre and it’s instantly a vast improvement on the clean plastics. You’ll get a stunning silk finish, as if the car has just rolled off the production line. Job done! Easy. Such a great improvement.
So there you have it! A detailed engine bay, all done safely. We went one step further, and sprayed our exhaust manifold heat shield in high-temp aluminium spray to freshen it up and also replaced the old rotten coolant bottle at the same time. Awesome!

