


With Winter over, have you given your car a deep Spring detail yet?
The Winter months' can be extremely harsh on our cars. So come Spring time, it's great to give our pride and joy the detail it deserves. Winter brings grime to the roads, as well as salt and many other contaminants, that aren't going to do your paintwork any good.
A thorough deep clean of all the Winter grime is exactly what's needed come Spring. Find out below how we gave this gorgeous black BMW M2 a deep clean and got it back to looking its best. The great thing is, you don't need to be a pro to get these great results.

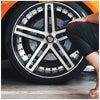
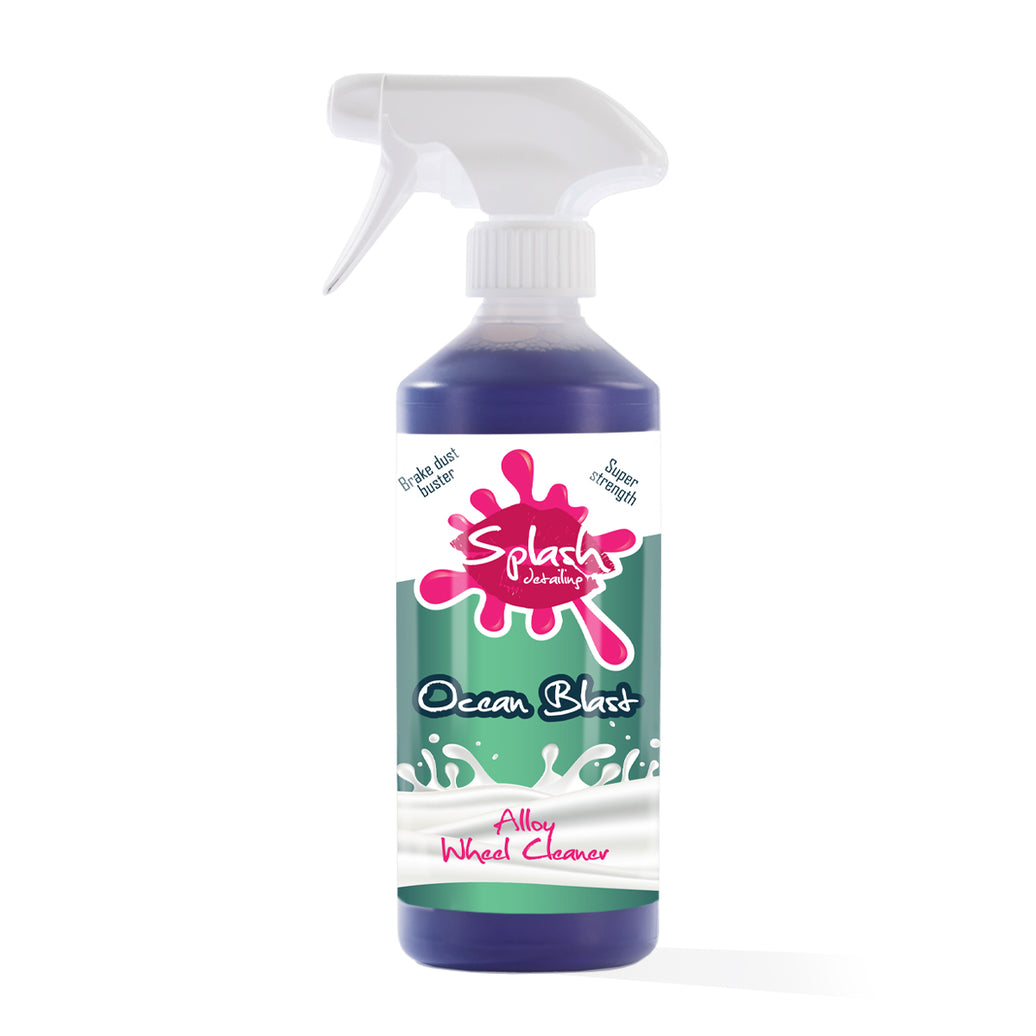
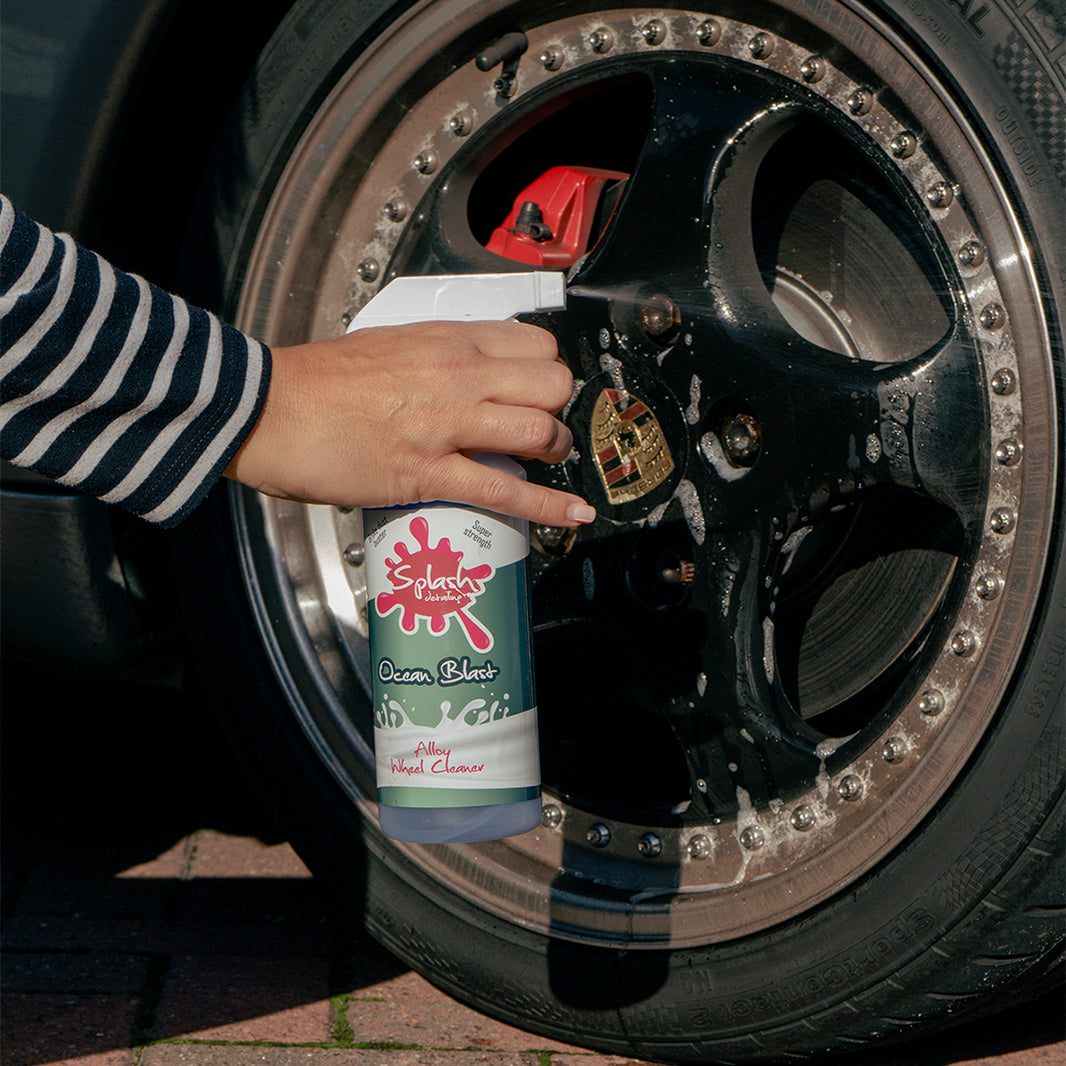
Let's start with the dirtiest part of the car. This is usually the wheels, arches and tyres. Complete one corner at a time. We like to do the wheels first, using our Ocean Blast Alloy Wheel Cleaner, using several brushes to agitate the grime before blasting away with the pressure washer. You can also scrub your tyres whilst you're doing the wheels to get rid of any old tyre dressing. Ocean Blast is safe to use on tyre walls - so no need to spend more money on a dedicated product.


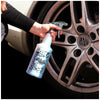
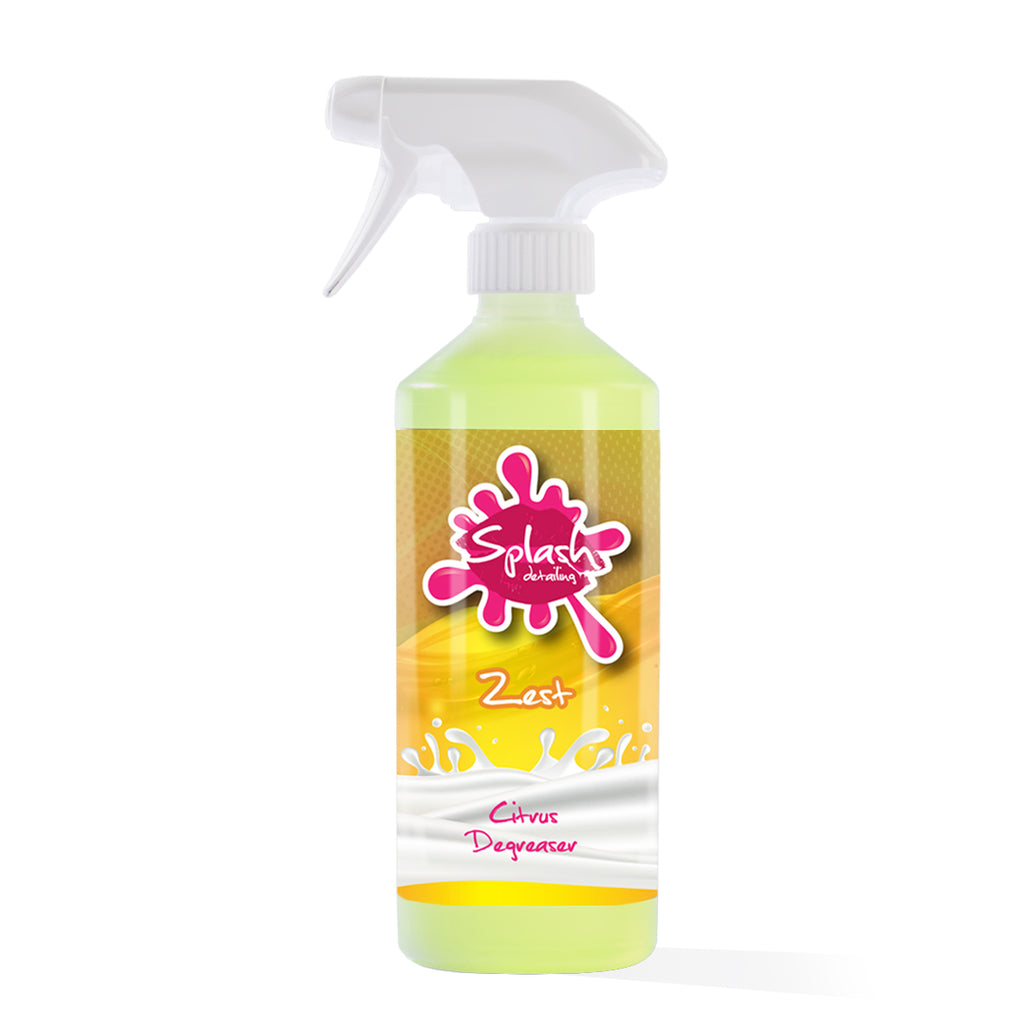
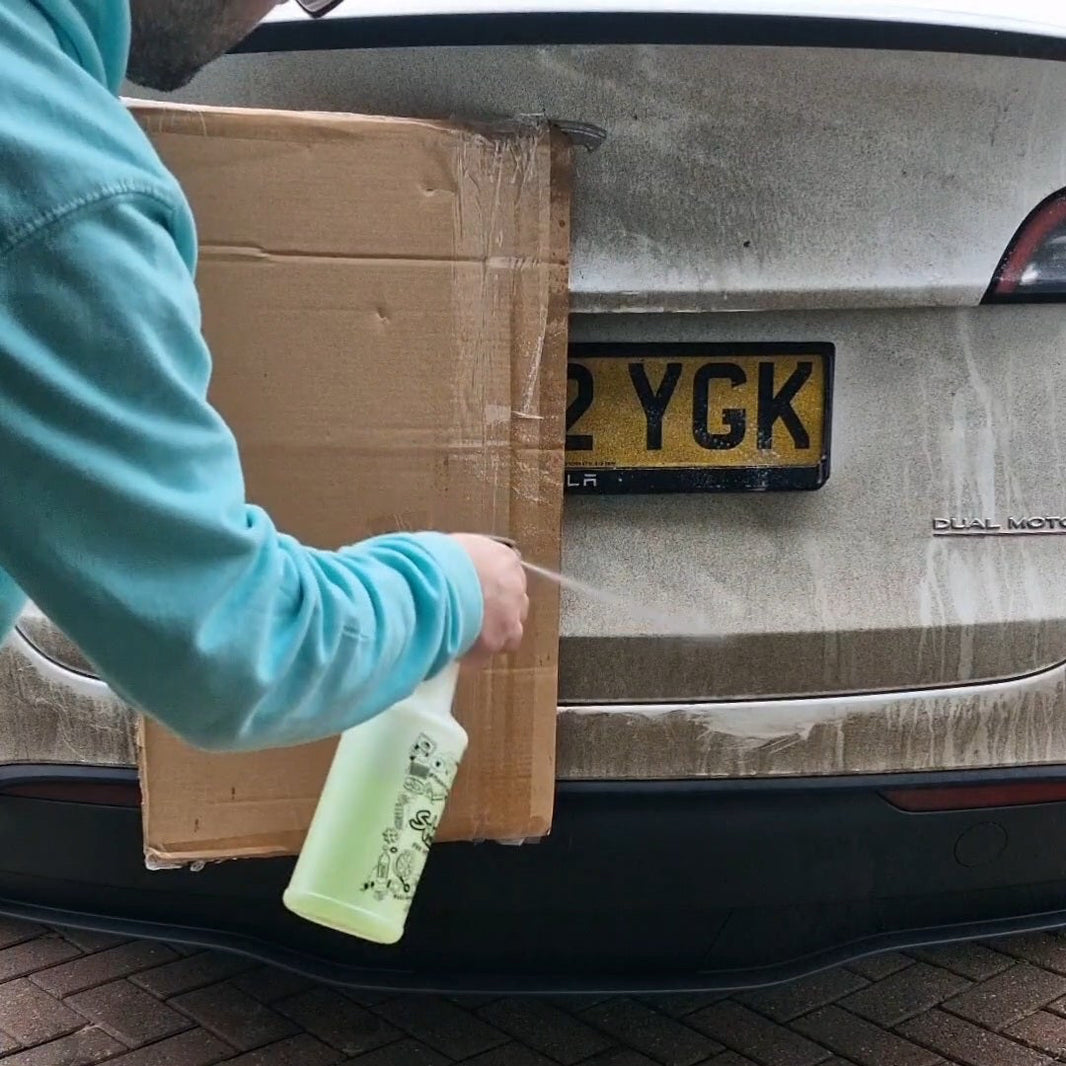
Once we've cleaned the wheels and tyres, let's move on to the arches. Zest Citrus Degreaser is ideal here. Spray into the arches and allow the product to dwell for a couple of minutes. Depending on the level of grime, you can either blast off right away with the pressure washer, or use a brush to agitate before blasting away.

Do one corner at a time, so product doesn't dry out on your car and you'll be left with these areas looking good as new in no time at all.


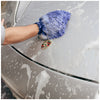
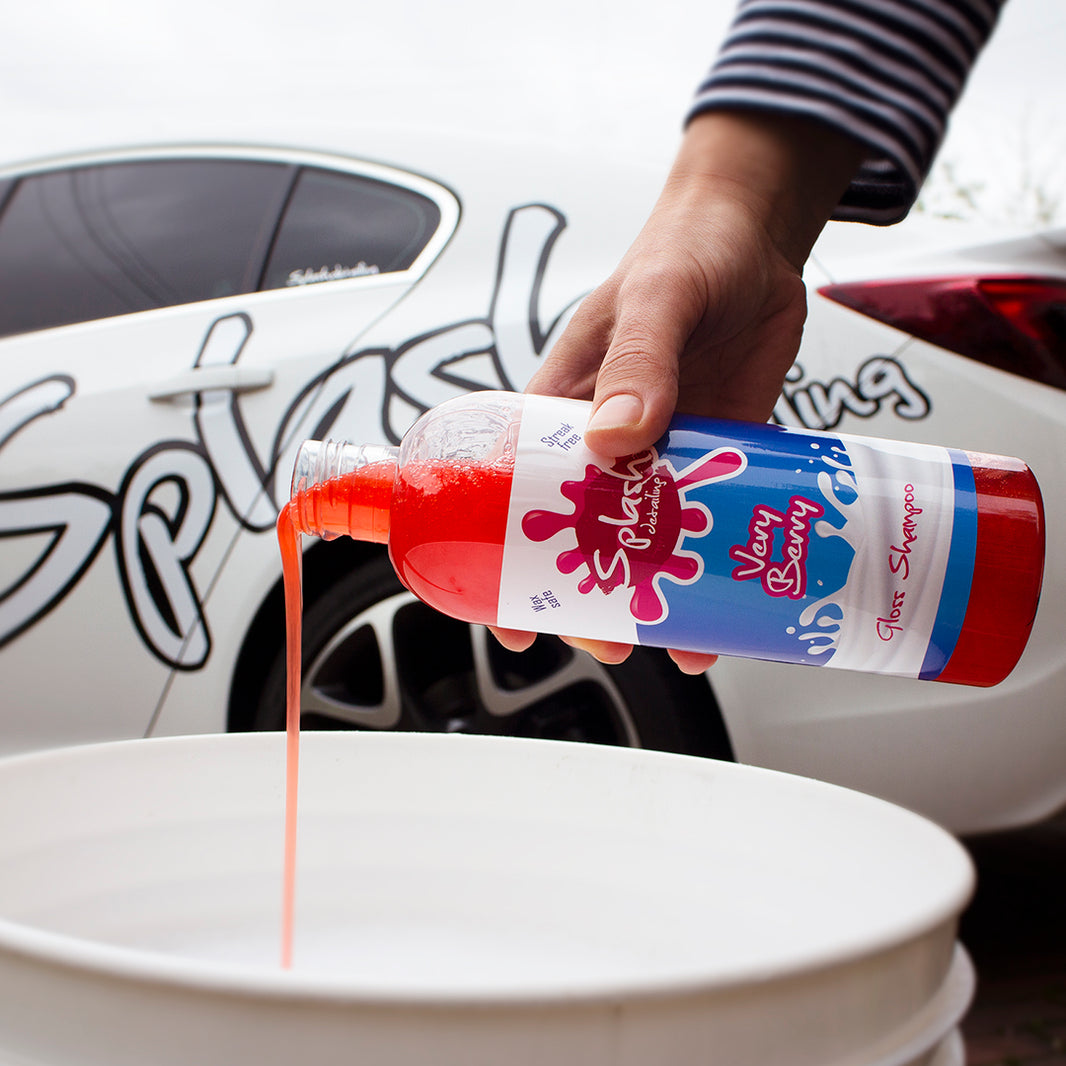
Once all snow foam is rinsed away, let's move on to the contact wash. The safest way to start is using the two bucket method (one bucket for your shampoo and another for rinsing out your wash mitt). Using this method will help avoid creating swirl marks to your paint.


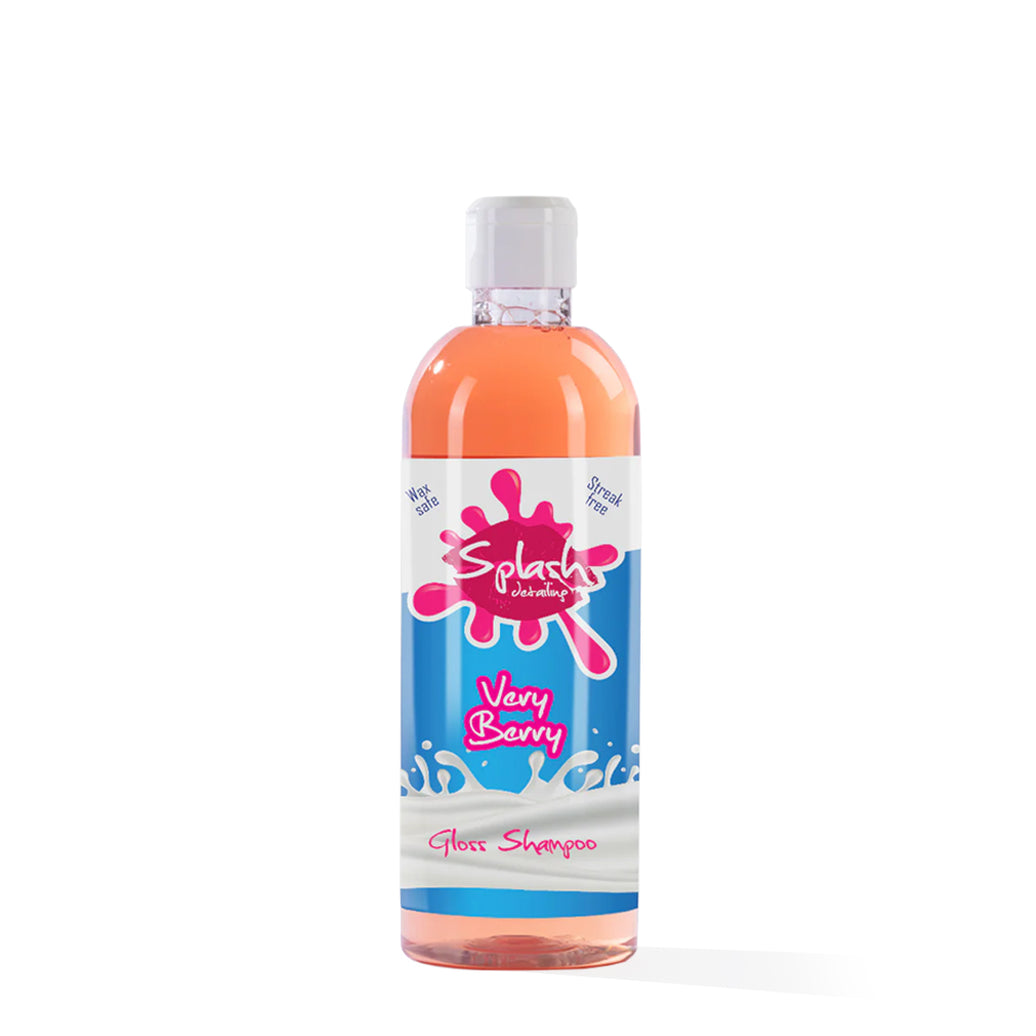
Very Berry Gloss Shampoo is a highly concentrated pH Neutral car shampoo that will gently wash your car. It contains a high grade lubricated formula which incorporates added carnauba wax, which leaves a stunning gloss to your paintwork.
Do you have a vinyl wrapped car? Well, fear not. Providing it's a gloss wrap, you can use Very Berry Gloss Shampoo to wash your wrapped car too.

So, your paint might be gleaming now. But how clean is it?
We use our Classiest Clay Fine Detailing Clay next to rid of all the embedded contamination in the paint. The great thing here is, unlike other clay bars that require more money being spent on a dedicated lubricant - you can use just water to lube our clay bar.

Run the back of your hand across your paint. If you haven't used a clay bar before, you'll feel the surface being extremely rough. If it does, then let's move to to using the clay bar.

It’s not as scary as people might thing, and it makes a massive difference to the feel of your paint. All that you need to do is spray water on the area you'll be working on and then glide the clay bar, running it back and forth until you see that the contaminants have been removed.

Now that we've prepped our paint with the clay bar, it's now safe for us to start our paint enhancing stage.
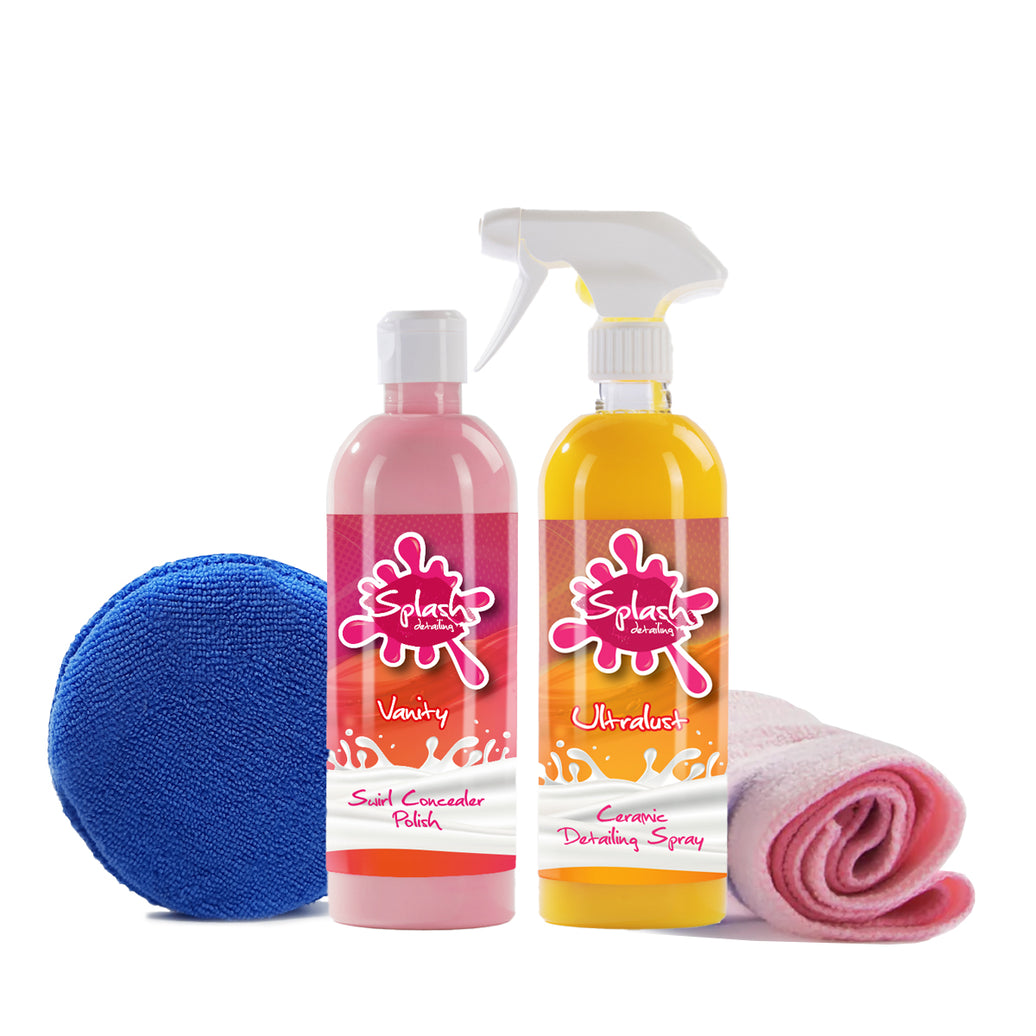
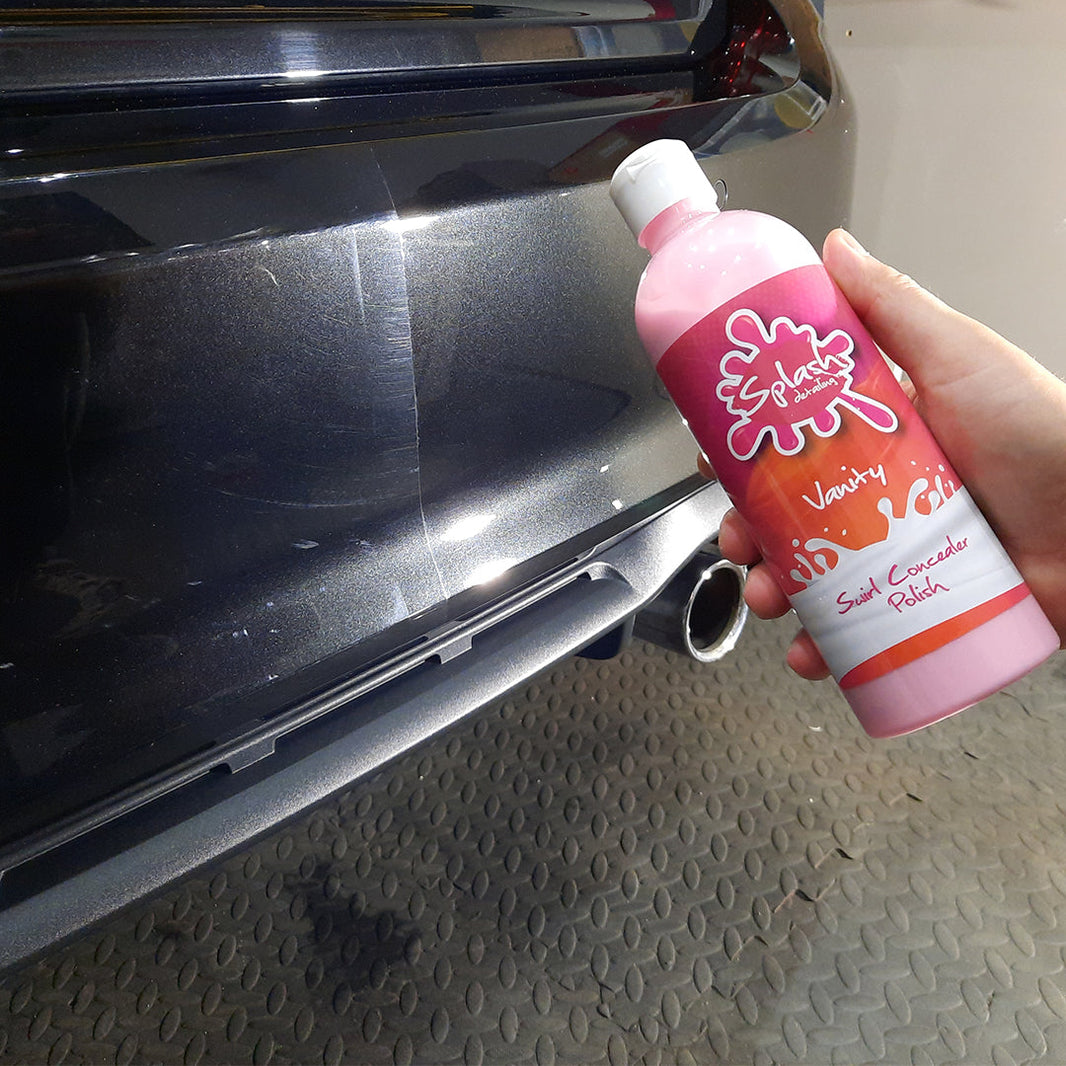
We developed a new product that's perfect for the job. Vanity Swirl Concealer Polish contains sophisticated polymers and ultra-fine abrasives to reduce and fill in fine swirls in your paintwork. It's so good, that it sold out in the first 48hrs of release. We appreciate that not everybody has a machine polisher - or that you even feel confident enough to use a machine on your car.


Here's where Vanity fits in. It's been developed for hand application, but also great for anyone wanting to use it with a machine. Start on a small area of your paint and apply 3-4 pea-sized spots onto our microfibre polishing pad. Rub the polish into your paint with medium pressure, either in straight lines or circular motion. Work the polish down until it becomes clear. Then take a Candy Cloth Microfibre Towel and buff away the residue.

It’s perfect for hand or machine application to reduce the visibility of swirl marks, leaving a glossy, wet-look finish. Ready for applying protection.

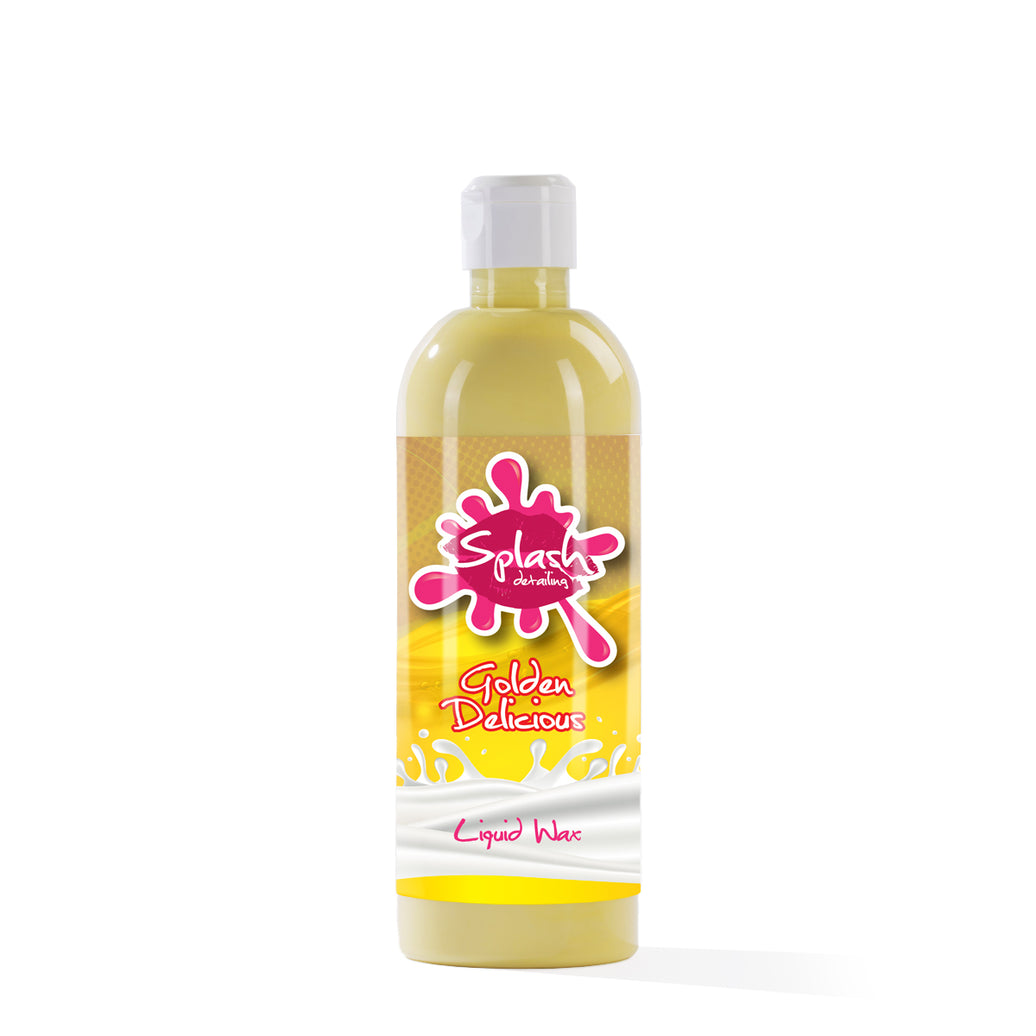
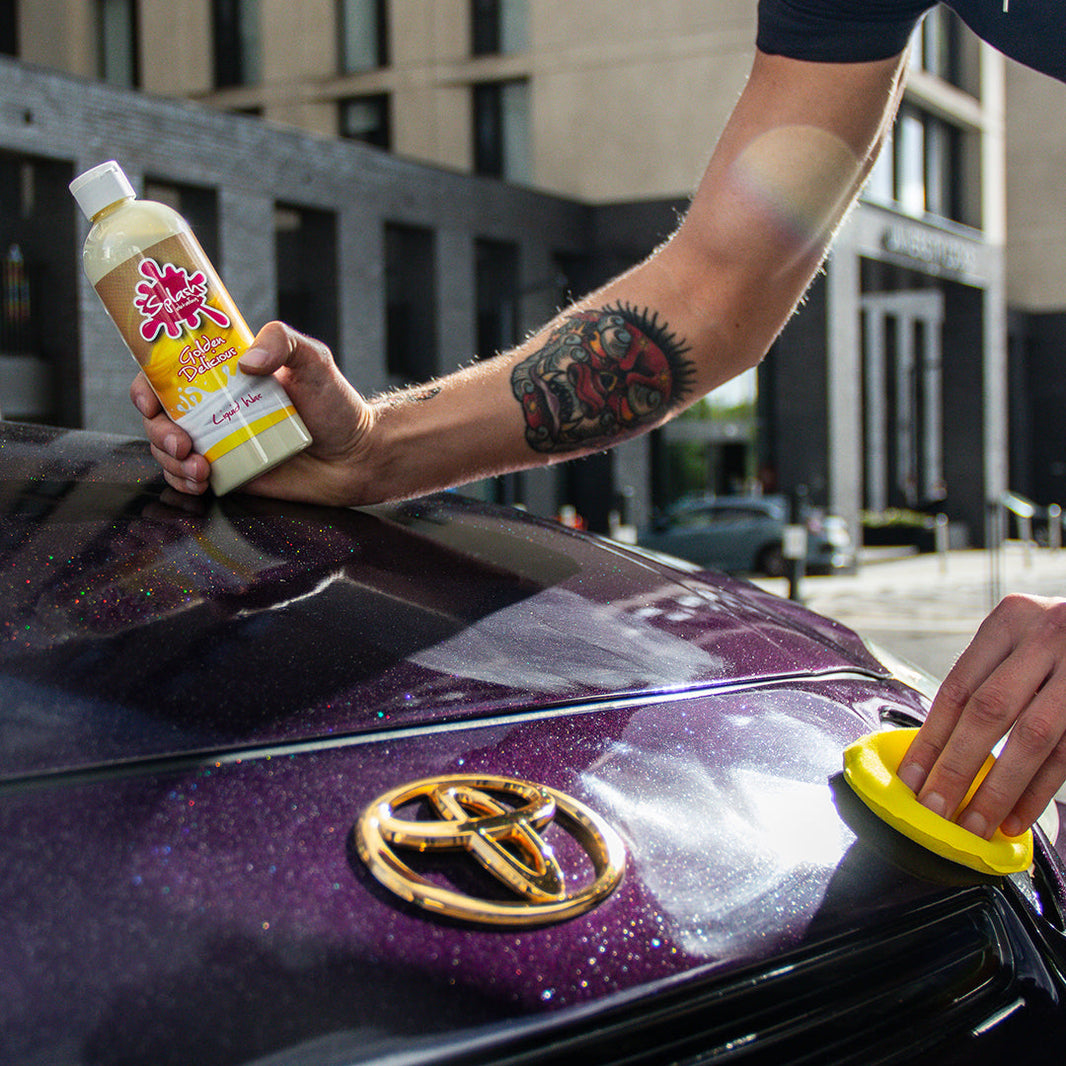
We're looking for a deep we-look finish in this black BMW, so our Golden Delicious Liquid Wax is our go-to product for the finishing stage. It creates a flawless finish on your polished paintwork and will leave it looking dripping wet. It delivers outstanding clarity and shine that will impress even the hardcore detailers.

Apply 3-4 pea-sized spots onto a foam applicator pad. We like to apply the wax in small lines to the paintwork. Apply a thin, even layer to your paint and allow it to haze. This can take around 10 minutes.
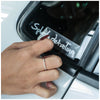
A sure way to know if your wax is ready to be buffed away is using the 'finger swipe' test. Swipe a finger through the wax and if it leaves a smear free line on your paint then we know it's ready to be buffed off.

The results speak for themselves. Stand back and admire your hard work. You've now completed your Spring detail and should have a car that's looking better than new.

The exterior is now looking top-top. So let's focus our attention on the interior now. Remove and car mats and rubbish ready for us to vacuum.
Once you're finished with the vac, let's start enhancing the appearance of the dashboard and all interior trims. CocoNuts Interior Dressing enhances dashboards and interior trims, leaving a silky smooth natural finish. It's a water based formula with an amazing coconut fragrance as you apply.


Simply spray CocoNuts onto your door cards and buff with a Candy Cloth Microfibre Towel. A top tip, is to spray directly onto your microfibre towel to clean areas like the top of your dashboard. This will avoid spraying the product accidentally to your glass and making a little mess.
Let's finish off the detail by cleaning our glass. Clear Vue is a fast drying, alcohol-based glass cleaner containing the highest level of solvents and detergents to clean your glass. It's guaranteed to leave an invisible, smear free finish every time.


You can also use it on any chrome trim you have on the exterior or interior, and even on your exhaust tailpipes. The ultimate versatile product.


