






How to Use a Clay Bar on Your Car: Complete Detailing Guide

Why Should You Clay Bar Your Car?
Your car might look clean after a regular wash, but that doesn't necessarily mean the paintwork is completely clean.
Over time, contaminants such as tree sap, tar, road grime and industrial fallout can become embedded in your vehicle's paintwork. These contaminants aren't always removed by shampoo and a wash mitt.
This is where a detailing clay bar comes in.
Using a clay bar helps remove bonded contaminants from your paintwork, leaving the surface feeling noticeably smoother and preparing it for polishing or paint protection.
It's an important stage of detailing, particularly if you're looking to achieve the best possible finish.
Below, we'll show you how to use our Classiest Clay Fine Detailing Clay Bar, step by step, safely and effectively.
Step 1 – Prepare Your Clay Bar

Our detailing clay comes as a handy 100g bar. You don't need to use the entire bar in one go.
We recommend cutting approximately one-third of the bar using scissors. Please be careful when doing this!
Place the remaining clay back into its resealable bag to keep it protected and ready for next time.


Step 2 – Flatten the Clay

Detailing clay can feel quite firm when you first take it out of the packet.
Using your fingers, gently knead and massage the clay into a flat disc shape. This gives you a wider working surface and makes it easier to glide across your paintwork.

Step 3 – Lubricate the Surface

This is one of the most important steps when using a clay bar.
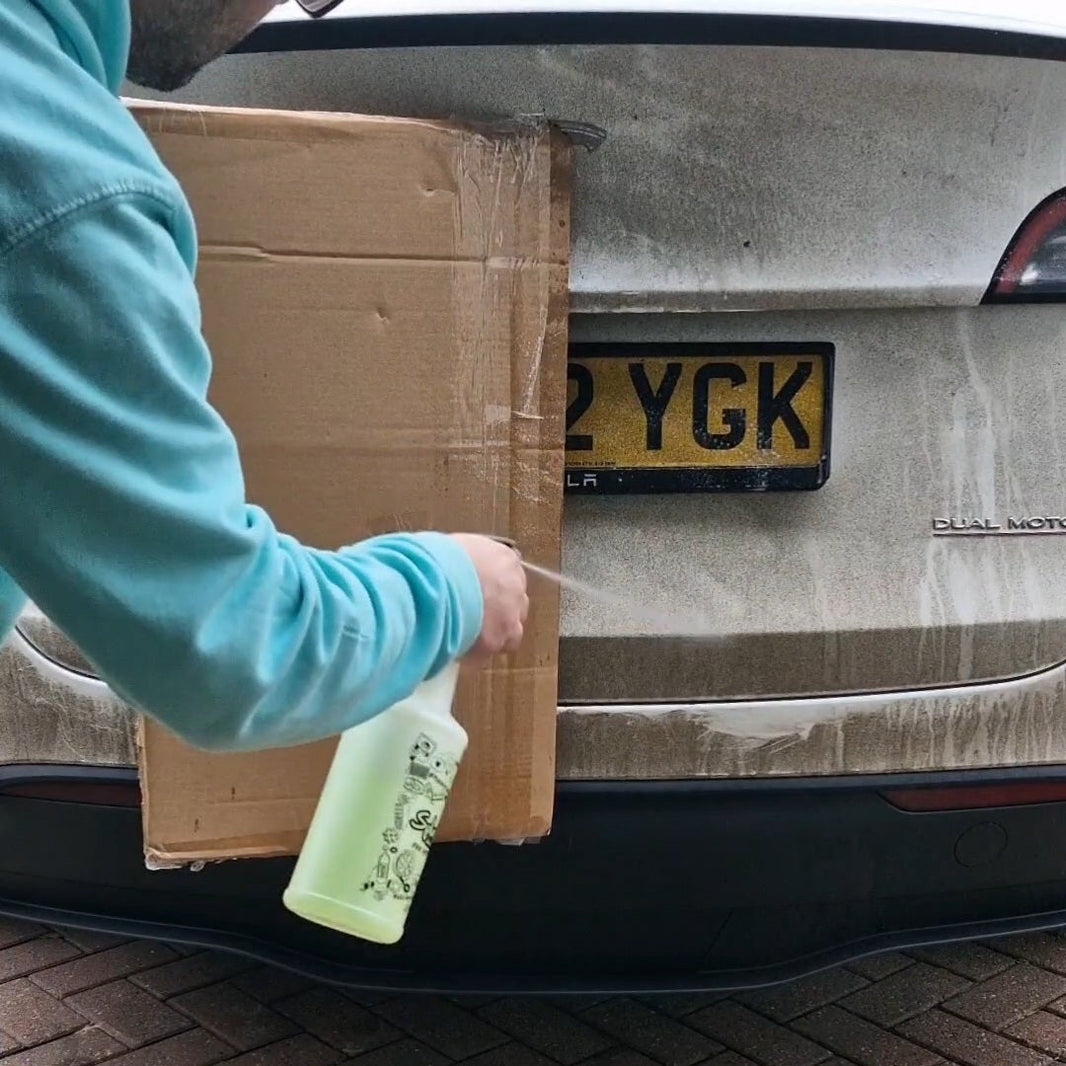
Always use a suitable clay lubricant. We recommend Clube Clay Lubricant, which has been formulated to help the clay glide across the paintwork and reduce the risk of marring.
Spray the clay bar before its first use, then generously lubricate the section of paintwork you're about to work on.
Never use a clay bar on dry paintwork.


Step 4 – Work the Clay Across the Paintwork

Now it's time to start removing those stubborn contaminants.
Working on a small section at a time (approximately 30cm x 30cm), gently glide the clay bar backwards and forwards across the lubricated surface.
Use very little pressure. Let the clay do the work.
You'll often feel some resistance as the clay picks up embedded contamination. As the surface becomes cleaner, the clay should glide more smoothly.
Once you've finished each section, wipe away the remaining lubricant with a clean microfibre towel before moving on.
Repeat this process across the vehicle, making sure the paintwork remains well lubricated throughout.

Step 5 – Check Your Results

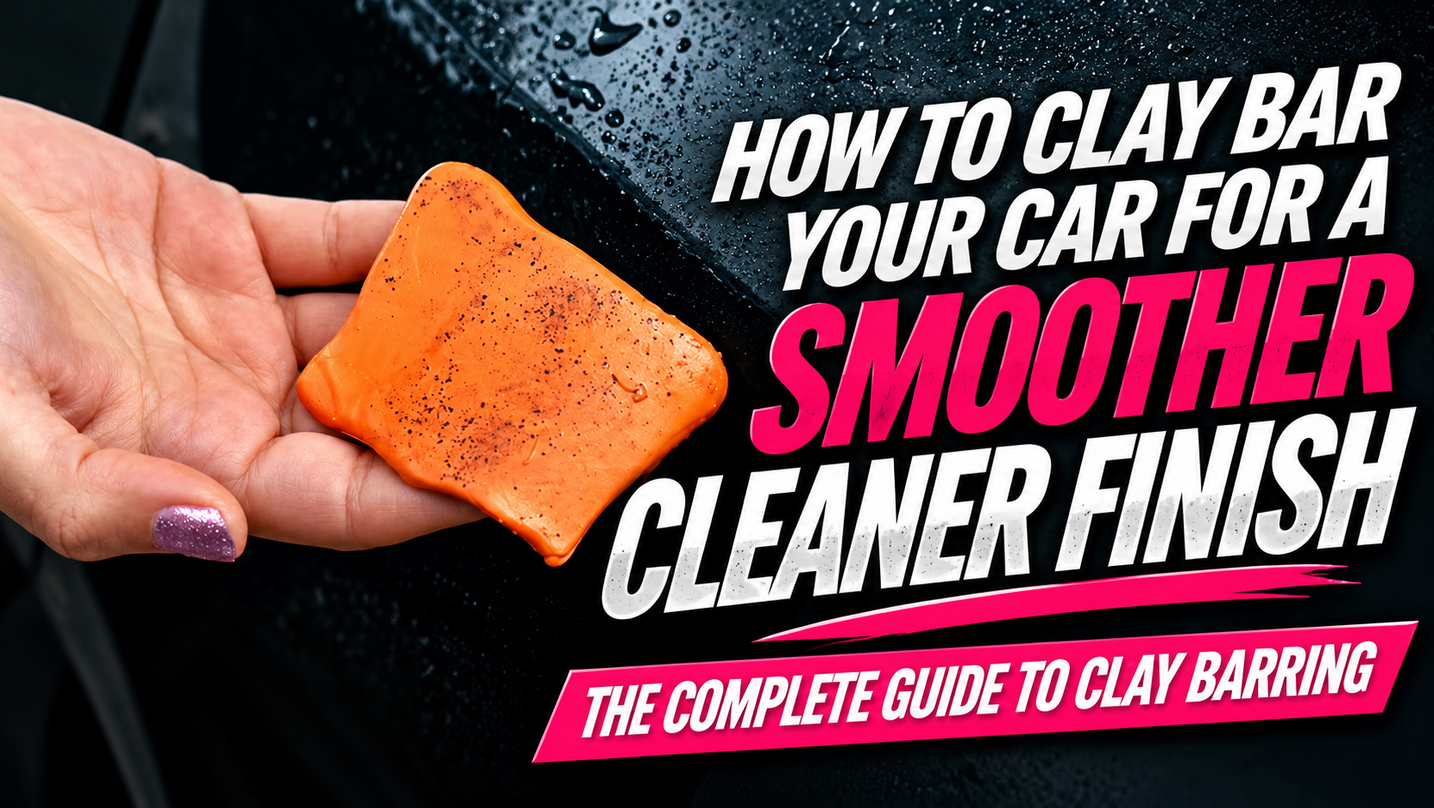
Here's an example of the contamination that can be removed from just a small section of paintwork.
Once you've finished claying an area, gently run your fingertips across the surface. You should notice a significant difference compared with the untreated paintwork.
For an even better test, carefully glide the back of your hand across the paint. The surface should now feel smooth and clean.

What's Next After Using a Clay Bar?
Now that you've removed the bonded contaminants, your paintwork is ready for the next stage of detailing.
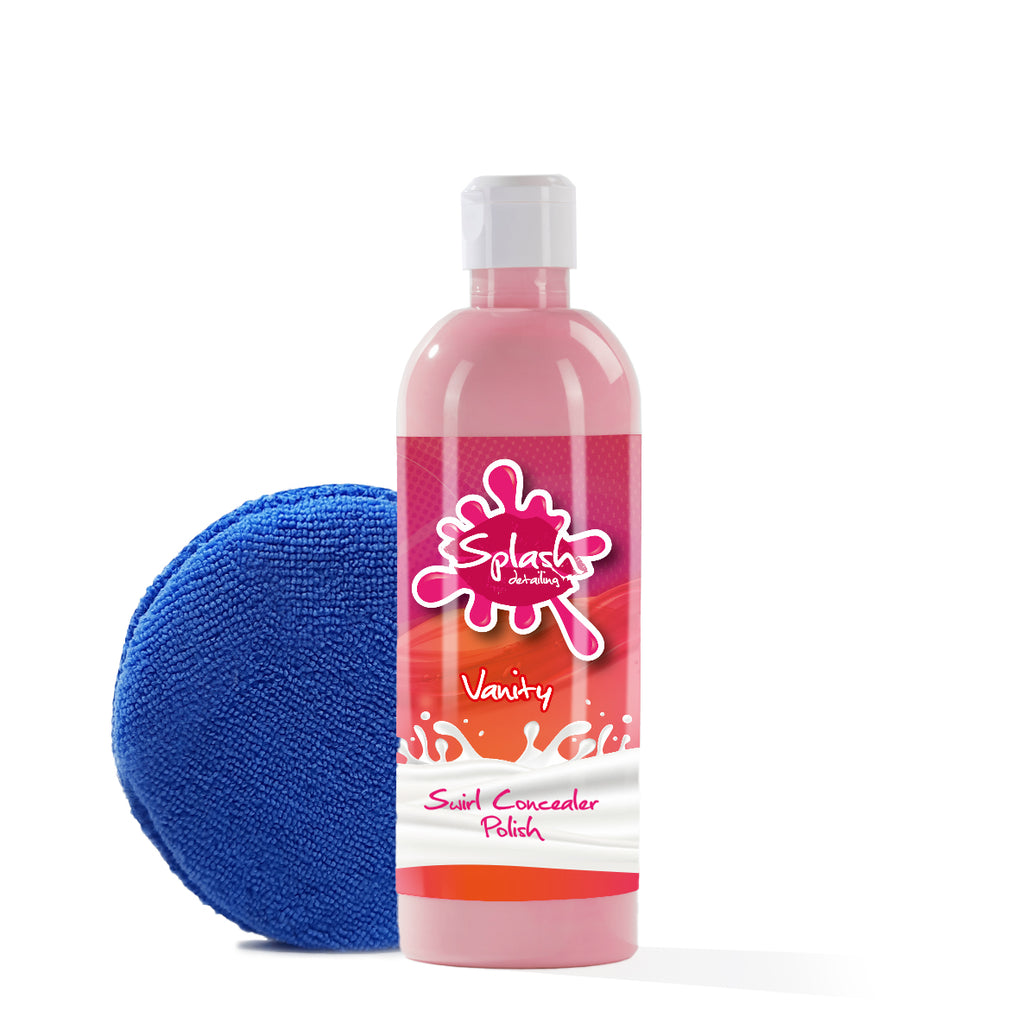
We ideally recommend polishing your car after using a clay bar. This gives you the opportunity to refine the paintwork and tackle imperfections such as swirl marks before applying your chosen wax or paint protection.
The result? A cleaner, smoother surface that's properly prepared for a brilliant finish.
Ready to Get Started?
Our Classiest Clay Fine Detailing Clay Bar is an essential addition to any detailing kit.
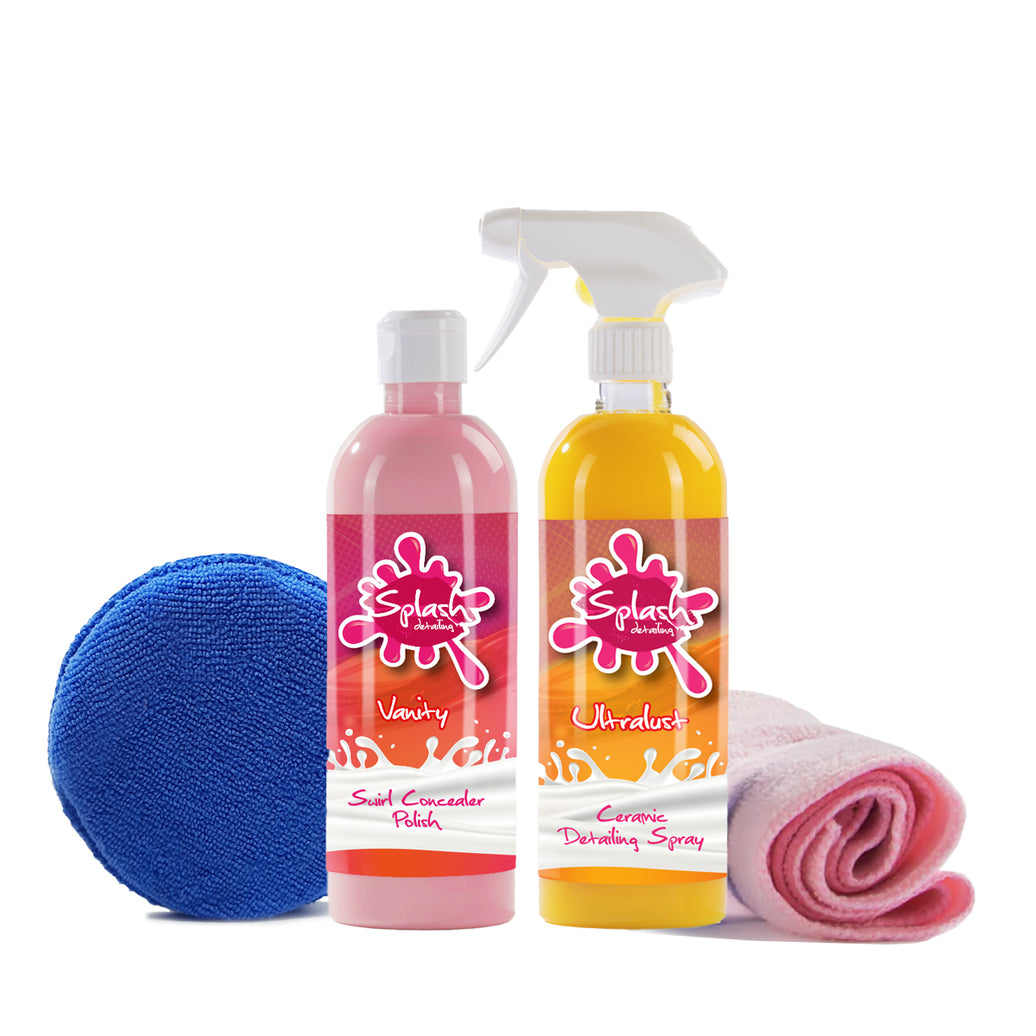
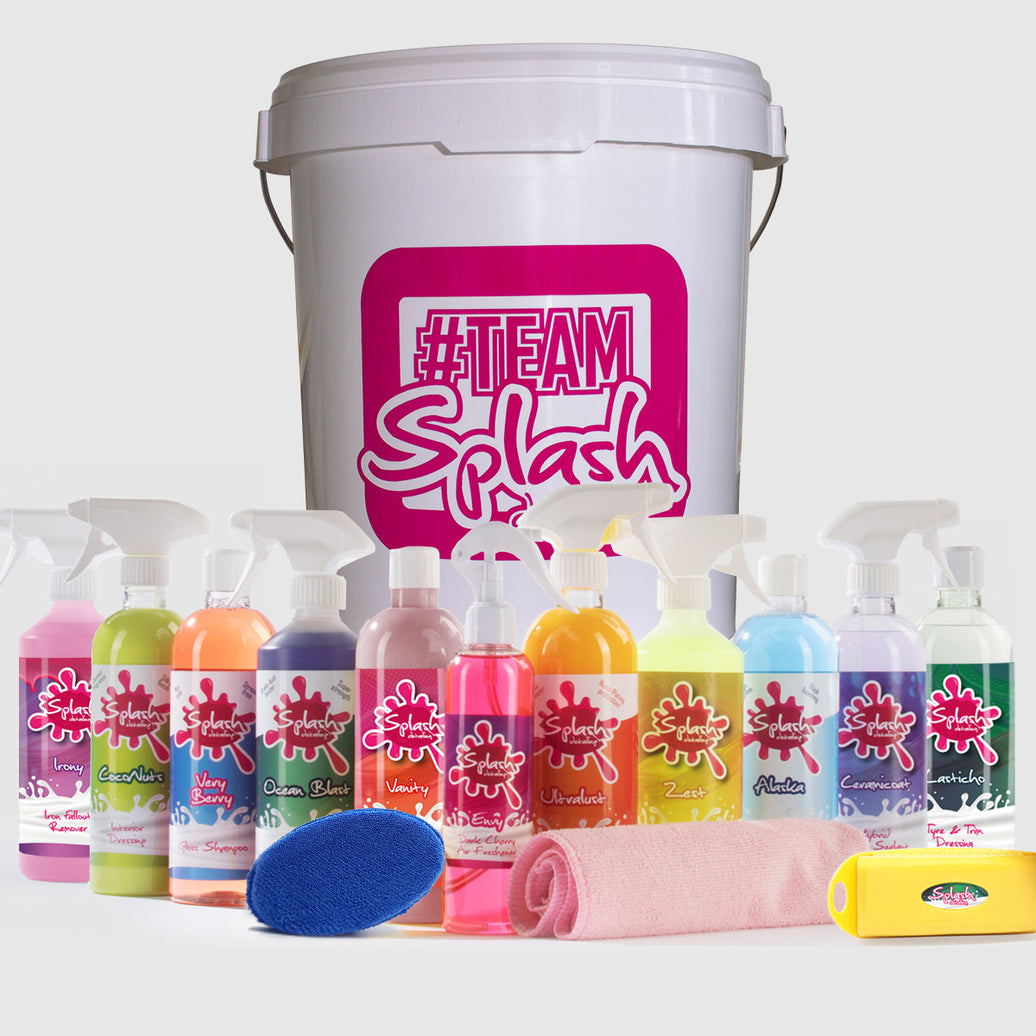
Get everything you need to decontaminate your paintwork with our Clay Bar Kit.

Give your paintwork the smooth finish it deserves with Splash Detailing.